
Classic gluten-free madeleine cookies bring a taste of French elegance right into our homes. With their delicate shape and light texture, they are perfect for any occasion or just a cozy treat at home. Read Interesting article: Everyone’s Making This 5-Min Lazy Chicken Bowl
Introduction to Madeleines
What Are Madeleines?
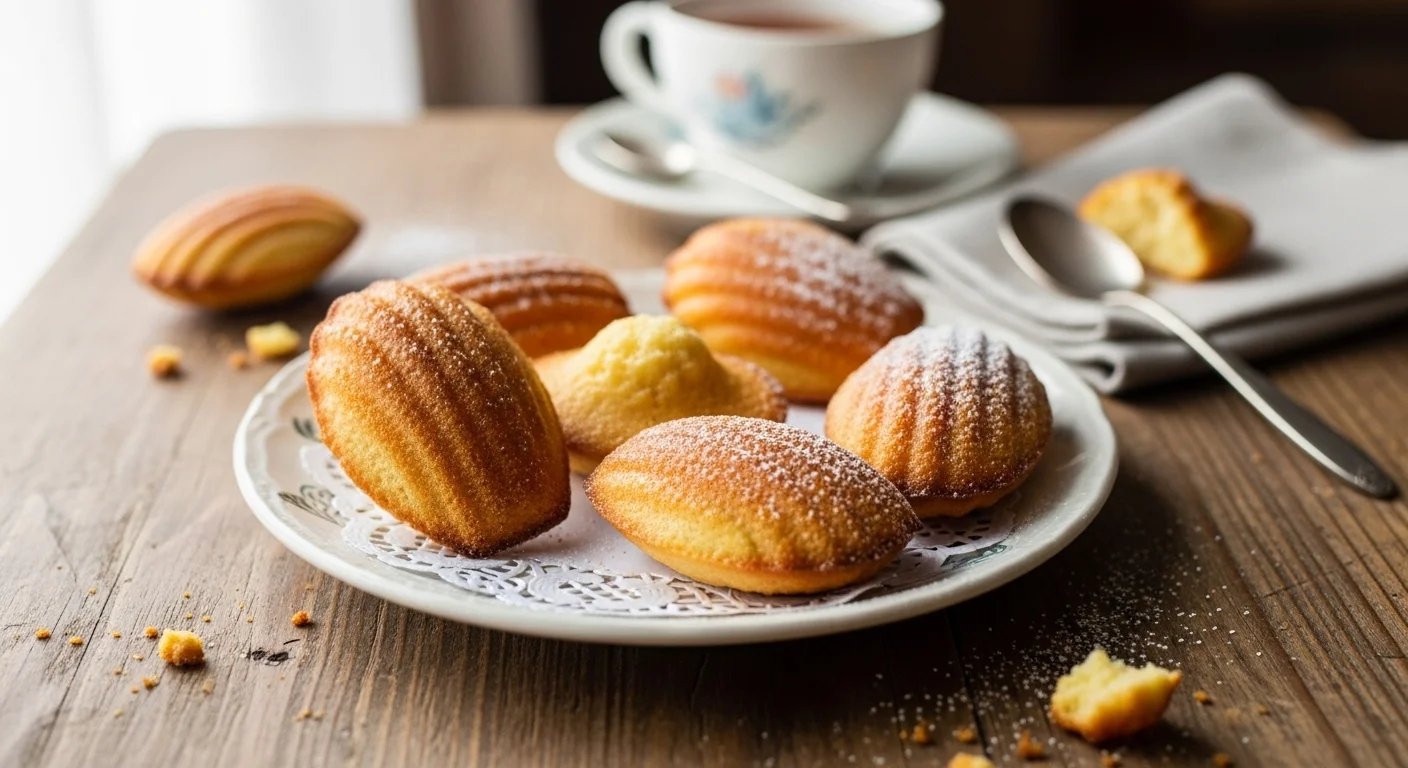
Madeleines are small, shell-shaped sponge cakes that hail from France. They’re known for their light, airy texture and delightful buttery flavor. Traditionally baked in a special molded pan, these cookies have a unique shape that adds to their charm. When I first encountered madeleines at a French café, I was instantly captivated by their delicate flavor and beautiful presentation. As I took a bite, the soft, moist texture just melted in my mouth. I knew I wanted to recreate that experience at home, but I also wanted to adapt the recipe for gluten-free baking, ensuring that everyone can enjoy these little gems.
History of Madeleines
The history of madeleines is as rich as their flavor. They are believed to have originated in the Lorraine region of France in the 18th century. Legend has it that a young servant named Madeleine Paulmier created them for the Duke of Lorraine, which is how they got their name. Over time, madeleines became a beloved treat throughout France, often enjoyed with tea or coffee. I find it fascinating how these cookies have transcended their humble beginnings to become a symbol of French pastry artistry. The moment I learned about their history, I felt even more inspired to make my own version, embracing that tradition while ensuring they are gluten-free.
Gluten-Free Baking Essentials
Understanding Gluten-Free Flours
When it comes to gluten-free baking, choosing the right flour is crucial for achieving the perfect texture. I’ve experimented with various gluten-free flours and have found that a blend often works best. For madeleines, I like to use a mix of almond flour and a gluten-free all-purpose flour. Almond flour gives a nutty flavor and moisture, while the all-purpose blend helps with structure and lightness. I’ve seen others use rice flour or oat flour, but I personally find the almond/all-purpose combo to be my favorite. Experimenting with these flours has been a journey, but it’s also rewarding to discover what works best for my palate. Read Interesting article: Ditch the Bottle: 5 DIY Healthy Salad Dressings (So Easy & Delicious!)
Common Gluten-Free Ingredients for Madeleines
Aside from flour, there are several key ingredients that elevate gluten-free madeleines. Eggs are essential for binding and creating that airy texture. I’ve noticed that using room temperature eggs really helps with incorporating air into the batter. Then there’s sugar, which not only adds sweetness but also contributes to that golden exterior. I also like to add a bit of vanilla extract for flavor, and a pinch of salt to balance the sweetness. Butter is another star in this recipe; using high-quality unsalted butter makes a noticeable difference in flavor. If you need a dairy-free option, coconut oil or a vegan butter substitute can work well too. I remember the first time I tried a dairy-free version; it surprised me how delicious they still turned out!
Classic Gluten-Free Madeleine Recipe
Ingredients Needed
Now that we’ve covered some basics, let’s dive into the ingredients needed for making classic gluten-free madeleines:
- 1 cup gluten-free all-purpose flour
- 1/2 cup almond flour
- 1 teaspoon baking powder
- 1/4 teaspoon salt
- 1/2 cup unsalted butter, melted
- 3 large eggs, room temperature
- 3/4 cup granulated sugar
- 1 teaspoon vanilla extract
- Zest of 1 lemon (optional)
Step-by-Step Baking Instructions
Now let’s get into the nitty-gritty of baking these delightful cookies:
- Preheat your oven to 375°F (190°C). Grease your madeleine pan with butter or a non-stick spray.
- In a bowl, whisk together the gluten-free all-purpose flour, almond flour, baking powder, and salt. Set this aside.
- In another bowl, beat the eggs and sugar together until pale and frothy. This usually takes about 5 minutes with an electric mixer.
- Mix in the melted butter and vanilla extract until combined. If using lemon zest, add it here.
- Slowly add the dry ingredients to the wet ingredients, mixing gently until just combined. Be careful not to overmix!
- Let the batter rest for about 10 minutes, which helps create that signature madeleine bump.
- Fill each madeleine mold about 3/4 full with batter. Bake for 10-12 minutes until golden brown.
- Once baked, let them cool in the pan for a few minutes before transferring them to a wire rack to cool completely.
Tips for Achieving the Perfect Texture
From my experience, there are a few tips that can help you achieve that perfect madeleine texture. First, ensure your ingredients are at room temperature, especially the eggs and butter, as this helps with the emulsification process. I also recommend letting your batter rest before baking; this allows the flours to hydrate and the flavors to meld. Lastly, don’t skip the cooling step! Letting the cookies cool briefly in the pan before moving them helps maintain their shape. Trust me, these little details make a huge difference in the end result.
Flavor Variations for Madeleines
Lemon Zest Variation
One of my absolute favorite variations of madeleines is the lemon zest version. Adding lemon zest not only brightens the flavor but also gives your madeleines a refreshing twist. When I first tried this, I was pleasantly surprised by how much a simple ingredient could elevate the entire cookie. To make these, I usually add the zest of one lemon to the batter as I mix in the melted butter. The citrus aroma fills the kitchen, and I can barely wait for them to bake! If you want to kick it up a notch, consider drizzling a light lemon glaze over the cooled madeleines for an extra burst of sweetness and tang. Just mix powdered sugar with a little lemon juice until you reach your desired consistency, and drizzle it on top. Trust me, it’s a delightful experience!
Chocolate Dipped Madeleines
If you’re a chocolate lover like me, chocolate-dipped madeleines are a must-try! The combination of the soft, buttery cookie with rich, melted chocolate is simply heavenly. To make these, I melt some high-quality dark or semi-sweet chocolate in a bowl over a pot of simmering water or in the microwave. Once the madeleines are completely cool, I dip the rounded end into the melted chocolate and allow the excess to drip off. For an extra touch, I sometimes sprinkle a little sea salt or chopped nuts on top before the chocolate sets. These treats are perfect for sharing or just indulging in during a cozy evening at home.
Lavender Infused Madeleines
Another unique variation that I absolutely adore is lavender-infused madeleines. I remember the first time I tried a lavender-flavored treat; it was such a calming experience. To infuse lavender into the madeleines, I use culinary lavender. I gently crush about a teaspoon of dried lavender buds and add them to the melted butter while it’s still warm. Let it steep for about 10 minutes, and then strain out the buds before mixing the butter into the batter. The subtle floral notes complement the buttery flavor beautifully, making these perfect for a tea party or a relaxing afternoon snack. A light dusting of powdered sugar on top adds an elegant finishing touch.
Serving Suggestions and Pairings
Best Beverages to Pair with Madeleines
Pairing madeleines with the right beverage can truly enhance the experience. I’ve found that a warm cup of tea or coffee complements them perfectly. The richness of a good Earl Grey or a classic chamomile tea brings out the delicate flavors of the madeleines. When I have friends over, I often serve them with a pot of freshly brewed coffee, and we enjoy chatting over these delightful treats. Additionally, I’ve discovered that a light sparkling drink, like a homemade lemonade or even a sparkling rosé, can also be a refreshing contrast to the sweetness of the cookies. It’s all about finding that perfect balance!
Presentation Ideas for Special Occasions
When it comes to serving madeleines, presentation can make all the difference, especially for special occasions. I love using beautiful platters or tiered stands to display these charming cookies. Adding a few sprigs of fresh mint or edible flowers not only enhances the visual appeal but also brings a touch of elegance. For gatherings, I sometimes arrange them in small paper cupcake liners for a cute touch. If I’m feeling festive, I might even sprinkle some edible glitter on top for a bit of sparkle. It’s amazing how a little effort in presentation can elevate the entire experience and impress my guests!
Storing and Freezing Madeleines
How to Store Madeleines for Freshness
After baking a batch of madeleines, storing them properly is essential to keep them fresh and delicious. I usually store mine in an airtight container at room temperature, where they can last for about three days. Just remember to let them cool completely before sealing them up to prevent moisture build-up. If I’m making a larger batch and want to keep them for longer, I sometimes line the container with parchment paper to help absorb any excess moisture. This way, I can enjoy a taste of homemade goodness even days later!
Freezing Madeleines: Tips and Tricks
Freezing madeleines is a great option if you want to have a sweet treat on hand for unexpected guests or just a cozy evening. I like to freeze them after they’ve completely cooled. I place them in a single layer on a baking sheet and pop that in the freezer until they’re firm. Once frozen, I transfer them to a zip-top freezer bag, removing as much air as possible to prevent freezer burn. They can last up to three months in the freezer! When I’m ready to enjoy them, I take out a few and let them come to room temperature. They taste just as fresh as the day I baked them!
Common FAQs About Gluten-Free Madeleines
Can You Make Madeleines Dairy-Free?
Absolutely! Making dairy-free madeleines is not only possible, but it’s also quite simple. I’ve experimented with various substitutes, and I found that coconut oil or dairy-free butter works really well. For me, the coconut oil adds a subtle, tropical flavor that complements the madeleines beautifully. Just like with regular butter, you’ll want to melt the coconut oil before mixing it into your batter. I also recommend using a plant-based milk, like almond or oat milk, if you want to enhance the texture. When I first tried this dairy-free version, I was pleasantly surprised at how delicious they turned out. It’s a great way to ensure everyone can enjoy these delicate treats, regardless of dietary restrictions.
How to Adjust the Recipe for Different Flours?
Adjusting the recipe for different gluten-free flours is a common concern, and I’ve definitely faced this challenge. Each gluten-free flour behaves differently, so it’s essential to understand how to adapt your recipe accordingly. For instance, if you want to use a flour like coconut flour, which is highly absorbent, you’ll need to reduce the amount you use and increase the liquid in your batter. I’ve found that using a gluten-free blend often yields the best results because these blends are designed to mimic regular flour’s properties. If you’re feeling adventurous, you might consider adding a bit of xanthan gum to help bind the ingredients together, especially when using flours like rice or sorghum. Remember, the key is to keep experimenting until you find the right balance that works for your taste and texture preferences.
What to Do If Madeleines Stick to the Pan?
If you’ve ever had the unfortunate experience of madeleines sticking to the pan, I feel your pain! One of the most effective ways to prevent this is by ensuring you properly grease the madeleine pan before pouring in the batter. I like to use a combination of butter and a light dusting of gluten-free flour to create a non-stick surface. Another tip is to let the madeleines cool in the pan for a few minutes before attempting to remove them. This waiting period allows them to set and makes it easier to pop them out without losing their beautiful shape. If they still stick, I sometimes use a thin spatula to gently loosen the edges. It’s a bit of a trial and error process, but with a little patience, you’ll master this technique in no time!
Exploring French Bakery Culture
Traditional French Bakery Techniques
Exploring French bakery culture has always fascinated me. The techniques that French bakers use are steeped in tradition and artistry, and I think that’s what makes their pastries so special. For instance, the way they treat their dough is almost like a ritual. I remember watching a video of a French baker meticulously folding and rolling dough to create layers of buttery goodness. This process is crucial for achieving that perfect texture, whether in croissants or, of course, madeleines. I’ve tried to incorporate some of those techniques into my own baking, especially the emphasis on using high-quality ingredients and allowing the dough to rest. The love and care that goes into these baked goods really shines through, making each bite a delicious experience.
Where to Find Authentic Madeleines in France
If you ever find yourself in France, you must seek out authentic madeleines! I still remember the first time I tasted them in a little bakery in Paris. The aroma of freshly baked goods wafting through the air was intoxicating. I stumbled upon a quaint patisserie where the madeleines were still warm from the oven. The owner was so passionate about his craft, sharing stories about the origins of his recipes and how he uses local ingredients. I recommend trying madeleines from various regions, as they can differ slightly in flavor and texture. Some bakeries might even offer unique twists, like adding regional flavors or fillings. If you’re unable to travel, many French bakeries now offer online orders, so you can sample these delightful treats from the comfort of your home! Read Interesting article: Classic Seasonal dumpling everyone should try
Final Thoughts
Making gluten-free madeleines has been such a rewarding journey for me, and I hope my experiences inspire you to try baking them yourself. Each time I whip up a batch, I’m reminded of the beautiful moments shared over these delightful cookies, whether it’s enjoying them with friends or savoring them during quiet afternoons with a cup of tea. The process itself has taught me the value of patience and experimentation in the kitchen. I believe that baking is not just about following a recipe; it’s about infusing love and creativity into every step.
As you navigate through your own baking adventures, embrace the opportunity to explore different flavors and variations. Whether it’s a hint of lavender, a zesty lemon burst, or a rich chocolate dip, each alteration offers a new way to enjoy these classic cookies. Don’t shy away from adding your personal touch; after all, that’s what makes homemade treats special.
And when it comes to sharing these madeleines, remember that presentation can elevate even the simplest treats. I find joy in arranging them beautifully, adding little garnishes, and creating an inviting atmosphere for friends and family. It’s all about bringing people together and creating memories around good food.
Finally, whether you’re sharing them at a gathering, enjoying a quiet moment, or surprising someone special with a homemade gift, gluten-free madeleines are sure to leave a lasting impression. So, gather your ingredients, put on your apron, and dive into the wonderful world of madeleine baking. I can’t wait to hear about your own experiences and discoveries!
Happy baking!
Frequently Asked Questions
What are madeleines?
Madeleines are small, shell-shaped sponge cakes from France, known for their light, airy texture and delightful buttery flavor. They are traditionally baked in a special molded pan that adds to their unique shape.
What is the history of madeleines?
Madeleines are believed to have originated in the Lorraine region of France in the 18th century. They were created by a young servant named Madeleine Paulmier for the Duke of Lorraine, which is how they got their name. Over time, they became a beloved treat throughout France, often enjoyed with tea or coffee.
What gluten-free flours are best for baking madeleines?
A blend of almond flour and gluten-free all-purpose flour is recommended for baking madeleines. Almond flour adds a nutty flavor and moisture, while the all-purpose blend helps with structure and lightness.
What ingredients are needed to make classic gluten-free madeleines?
The ingredients needed include 1 cup gluten-free all-purpose flour, 1/2 cup almond flour, 1 teaspoon baking powder, 1/4 teaspoon salt, 1/2 cup unsalted butter (melted), 3 large eggs (room temperature), 3/4 cup granulated sugar, 1 teaspoon vanilla extract, and optionally, the zest of 1 lemon.
How do you achieve the perfect madeleine texture?
To achieve the perfect texture, ensure ingredients are at room temperature, let the batter rest before baking, and allow the madeleines to cool briefly in the pan before transferring them to a wire rack. These steps help with emulsification and maintaining shape.
Can madeleines be made dairy-free?
Yes, madeleines can be made dairy-free by using coconut oil or dairy-free butter as substitutes for unsalted butter. Additionally, plant-based milk like almond or oat milk can enhance the texture.
How can you prevent madeleines from sticking to the pan?
To prevent sticking, properly grease the madeleine pan with a combination of butter and a light dusting of gluten-free flour. Let the madeleines cool in the pan for a few minutes before removing them to help maintain their shape.
What are some flavor variations for madeleines?
Flavor variations include adding lemon zest for a refreshing twist, dipping in chocolate for a rich treat, or infusing with culinary lavender for a floral note. Each variation offers a unique way to enjoy madeleines.
How should madeleines be stored for freshness?
Madeleines should be stored in an airtight container at room temperature, where they can last for about three days. It’s best to let them cool completely before sealing to prevent moisture build-up.
Can madeleines be frozen, and if so, how?
Yes, madeleines can be frozen after they have completely cooled. Place them in a single layer on a baking sheet in the freezer until firm, then transfer them to a zip-top freezer bag, removing as much air as possible. They can last up to three months in the freezer.