
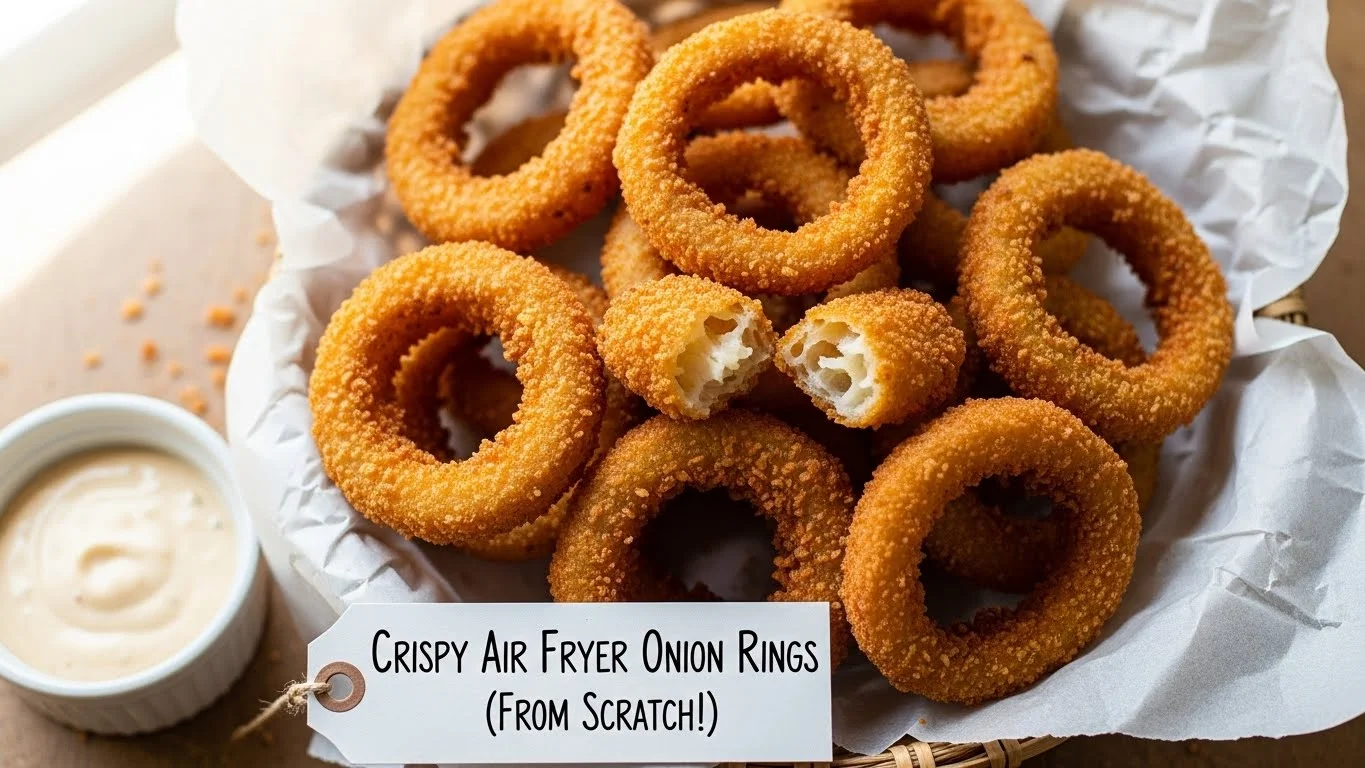
There’s something undeniably satisfying about biting into a crispy onion ring, especially when it’s homemade and cooked to perfection in an air fryer. If you’re ready to elevate your snacking game, let’s dive into making crispy air fryer onion rings from scratch!
What Are Air Fryer Onion Rings?
Air fryer onion rings are a delightful twist on the classic fried onion rings we all love. They give you that satisfying crunch without the need for deep frying in a vat of oil. Using an air fryer, we can achieve that golden-brown exterior while keeping the inside perfectly tender. It’s a game-changer for anyone wanting to indulge in a guilt-free snack. For more air fryer inspiration, check out The Best Crispy Air Fryer Tofu (A Game-Changing Recipe).
Overview of Air Fryer Cooking
Air fryers have taken the cooking world by storm, and for good reason! They use circulating hot air to cook food, which can replicate that crispy texture we crave without the excess oil. This method not only reduces the fat content but also speeds up cooking time. I remember the first time I used my air fryer; I was amazed at how quickly it cooked my favorite meals while giving them that satisfying crunch. It’s like magic in a small kitchen appliance!
Benefits of Making Onion Rings in an Air Fryer
When I decided to make onion rings in my air fryer, I was pleasantly surprised by the benefits. First off, they’re healthier than traditional fried onion rings. With significantly less oil, I felt good about indulging in this tasty treat. Additionally, air fryer onion rings cook evenly, giving that perfect crunch all around. I also love how easy the cleanup is – no greasy pans to scrub! Plus, it saves me from the lingering smell of fried food hanging around my kitchen.
Ingredients for Crispy Air Fryer Onion Rings
Let’s talk about what you need to create these delicious onion rings. The ingredients are simple, but they play a big role in the final flavor and texture.
Types of Onions to Use
The type of onion you choose can make a significant difference in taste. I’ve found that sweet onions, like Vidalia or Walla Walla, yield the best results. They provide a natural sweetness that pairs beautifully with the crispy coating. However, yellow onions also work well, offering a more robust flavor. I prefer to use large onions so I can cut thicker rings that hold up during cooking.
Breading Ingredients
For the breading, you’ll need all-purpose flour, breadcrumbs, and eggs. The flour helps the egg adhere to the onion, while the breadcrumbs provide that desired crunch. I like to use panko breadcrumbs for extra crispiness, but regular ones will work too. If you’re looking to add a little flair, consider using seasoned breadcrumbs for added flavor!
Seasoning Options for Flavor
Seasoning is key when it comes to enhancing the taste of your onion rings. I typically use a mix of garlic powder, paprika, salt, and pepper. You can get creative too! Feel free to add cayenne pepper for a spicy kick or Italian seasoning for a herby touch. I’ve experimented with different spices, and I love how a little seasoning can transform the entire dish. It’s all about finding that perfect balance that excites your taste buds!
Preparation Steps (From Scratch)
Now that we have our ingredients ready, it’s time to get started on the preparation. This part is crucial for achieving the best onion rings possible.
How to Cut Onion Rings Properly
To cut the onion rings, start by peeling the onion and slicing off the ends. I recommend cutting the onion into approximately ½-inch thick slices. After that, gently separate the rings. You’ll want to keep the larger ones for better texture. I remember my first attempt; I cut them too thin and ended up with crispy onion bits instead of rings. Lesson learned!
Preparing the Breading Station
Setting up your breading station is key to making the process efficient. I like to use three shallow bowls: one for flour, one for beaten eggs, and another for breadcrumbs. This setup allows me to easily coat each onion ring without making a mess. I’ve learned that taking my time during this step leads to a more even coating, which is essential for that perfect crunch.
Coating the Onion Rings
Coating the onion rings is where the magic happens! First, dip each ring into the flour, shaking off any excess. Then, move it to the egg mixture, making sure it’s fully coated. Lastly, transfer it to the breadcrumbs, pressing gently to ensure they stick. I like to give each ring a little shake to remove excess crumbs, which helps them cook evenly in the air fryer. It’s so satisfying to see them all lined up, ready to be cooked!
Cooking Instructions for Air Fryer Onion Rings
Now that we have everything prepped and ready, it’s time to move on to the exciting part – cooking those onion rings! This step is where the anticipation builds as you can almost taste that crispy goodness. Here’s how to get it just right.
Preheating the Air Fryer
Before cooking, it’s essential to preheat your air fryer. I usually set mine to around 375°F (190°C) for onion rings. Preheating helps to ensure that the onion rings cook evenly and develop that nice golden-brown color. I remember the first time I skipped this step; my onion rings ended up unevenly cooked, and I was disappointed. Now, it’s a non-negotiable part of my cooking routine. Just a few minutes of preheating can make a world of difference!
Cooking Time and Temperature
Once your air fryer is preheated, it’s time to load in those onion rings. I generally place them in a single layer in the basket, making sure not to overcrowd them. This is crucial because if they’re too close, they won’t crisp up properly. I usually cook them for about 10 to 12 minutes, flipping them halfway through to ensure they cook evenly on both sides. I’ve found that checking them a minute or two early can be a good idea; you want them to be perfectly golden and crispy, not burnt!
How to Achieve Maximum Crispiness
To achieve that crunchy texture we all crave, there are a few tricks I’ve learned along the way. First, I like to give the onion rings a light spray of cooking oil before they go into the air fryer. This small step helps to promote browning and adds to the crunch. Additionally, I’ve experimented with cooking in batches rather than cramming the basket full, which has consistently yielded better results. It’s worth the extra effort for that irresistible crunch! Once they’re finished, I usually let them sit for a minute outside the fryer to crisp up even more as they cool slightly. Trust me, it’s worth the wait!
Serving Suggestions
After all that hard work, the best part is finally here: serving those delicious onion rings! I love to get a little creative with how I present them. Here are some of my favorite ideas.
Best Dips and Sauces for Onion Rings
No onion ring experience is complete without the perfect dip! My go-to has always been classic ketchup, but I’ve also discovered that ranch dressing works wonders as well. If you’re feeling adventurous, try a spicy aioli or a tangy barbecue sauce. I remember the first time I dipped an onion ring into a homemade chipotle mayo – it was a game-changer! The smoky flavor paired beautifully with the crispy onion. Don’t be afraid to mix and match to find your favorite combination!
Pairing with Main Dishes
Onion rings can make a fantastic side dish! I enjoy serving them alongside burgers or grilled chicken for a backyard barbecue. They add that extra crunch and flavor to the meal. I’ve even had them with fish tacos, and it was a delightful pairing. The contrast of textures really elevates the whole dining experience. If you’re hosting a gathering, these onion rings can easily steal the spotlight from the main dish!
Creative Serving Ideas for Parties
If you’re looking to impress guests at your next gathering, consider serving your air fryer onion rings as part of a larger appetizer platter. I love to arrange them with a variety of dips and maybe even some veggies or cheese. You can also serve them in a fun way, like in a paper cone for a casual vibe or stacked high on a wooden board for a rustic touch. People will appreciate the effort, and it’ll be a hit with everyone! Plus, they’re easy to eat while mingling.
Common Mistakes to Avoid
As much as I love making onion rings, I’ve had my fair share of mishaps along the way. Here are some common mistakes I’ve learned to avoid, so you can have the best onion ring experience possible!
Choosing the Wrong Onion Type
As I mentioned earlier, the type of onion you use can significantly affect the flavor. Opting for a stronger onion, like a yellow onion, might not give you that sweet crunch you’re craving. I’ve tried using red onions in the past, and while they looked pretty, the flavor didn’t quite hit the mark. Stick with sweet or yellow onions for the best results!
Insufficient Breading or Coating
Getting the right amount of breading is crucial for that perfect crunch. I’ve had moments when I rushed this step and ended up with bare patches on my onion rings. Ensuring each ring is adequately coated in flour, egg, and breadcrumbs makes all the difference. Take your time to ensure they’re well-covered; trust me, it’s worth it!
Overcrowding the Air Fryer Basket
This is another mistake I learned the hard way. Cramming too many onion rings into the air fryer leads to uneven cooking and soggy spots. I’ve found that cooking in smaller batches not only results in better texture but also allows for more even cooking. It may take a little longer, but your taste buds will thank you!
Variations on Classic Onion Rings
While classic onion rings are already a delicious treat, I love experimenting with different variations to keep things exciting. Each twist adds a unique flavor that can surprise and delight your taste buds. Here are a few of my favorites that I think you’ll enjoy as well!
Spicy Onion Rings with Jalapeños
If you’re like me and enjoy a bit of heat, spicy onion rings with jalapeños are a must-try! To make these, simply slice fresh jalapeños into rings and mix them in with your onion rings before breading. The spicy kick complements the sweetness of the onion perfectly. I remember the first time I made these; I was worried the heat would be overwhelming, but it turned out to be just the right amount. They were a hit at my last gathering! Just be sure to adjust the number of jalapeños based on your spice tolerance.
Cheese-Stuffed Onion Rings
When I want to indulge a bit more, I turn to cheese-stuffed onion rings. This variation takes a bit more effort but is oh-so-worth it! Start by cutting the onion rings and removing the inner layers to create a hollow space. Then, fill each ring with your favorite cheese—mozzarella or cheddar works great. After that, proceed with the breading and cooking as usual. The first time I bit into one of these, the melted cheese oozed out, and I was in heaven! Just be careful not to overstuff them, or you might end up with a cheesy explosion!
Gluten-Free and Vegan Options
For those following a gluten-free or vegan diet, I’ve found that making adaptations can be both simple and delicious. To create gluten-free onion rings, replace all-purpose flour with gluten-free flour and use gluten-free breadcrumbs. I usually go for a mix that includes almond flour for added texture. For a vegan version, substitute eggs with a flaxseed egg (1 tablespoon of ground flaxseed mixed with 2.5 tablespoons of water, allowed to sit until it thickens) or use a plant-based milk with flour. I’ve made both versions, and they turned out fantastic! The key is ensuring your breading is well-seasoned to maintain that delicious flavor.
Frequently Asked Questions (FAQs)
As I’ve shared my journey with air fryer onion rings, I’ve noticed many questions pop up along the way. Here are some of the most frequently asked questions that I think can help you out!
How to Store Leftover Onion Rings?
If you have any leftover onion rings (which I hope you do, but it’s rare in my house!), storing them properly is important. I recommend placing them in an airtight container and refrigerating them. They can last for about 2 to 3 days. However, I’ve found that they tend to lose their crispiness over time. To revive them, simply pop them back in the air fryer for a few minutes before serving. It’s amazing how quickly they can regain that yummy crunch!
Can You Reheat Onion Rings in the Air Fryer?
Absolutely! Reheating onion rings in the air fryer is one of the best methods I’ve discovered. Preheat the air fryer again to around 350°F (175°C), then place the onion rings in a single layer and heat them for about 3 to 5 minutes. This method ensures that they come out crispy rather than soggy, which is what often happens when reheating in a microwave. It’s like having freshly made onion rings all over again!
How Do You Know When Onion Rings Are Done?
Determining when your onion rings are perfectly cooked comes with a bit of practice. I always look for that beautiful golden-brown color; that’s a telltale sign they’re ready to come out. I also like to give them a gentle poke to feel for that crunch! If they feel soft or seem too pale, they likely need a bit more time. As I mentioned earlier, I’ve made a habit of checking a minute or two early to ensure I catch them at their best. Trust your instincts, and you’ll get the hang of it in no time!
Final Thoughts
Making crispy air fryer onion rings has become one of my favorite kitchen activities. It’s incredible how a simple ingredient like an onion can transform into something so satisfying and delicious. I’ve found that once you get the hang of the process, it truly becomes second nature. From selecting the right onions to perfecting your breading technique, every step offers a chance to experiment and make it your own.
The variations I’ve tried, from spicy jalapeño rings to cheese-stuffed delights, keep my taste buds excited. I love that I can customize them based on what I have in my kitchen or what I’m craving at the moment. And let’s not forget how fun it is to share my creations with family and friends. I can’t tell you how many compliments I’ve received at gatherings, and it always puts a smile on my face to see others enjoy something I’ve made with love.
Cleaning up is also a breeze, which is a huge win for me. I no longer dread the fried food smell lingering in my home for days. Instead, I get to enjoy the fresh aroma of crispy onion rings without the guilt of deep frying. Plus, the air fryer is so versatile, allowing me to create numerous dishes beyond just onion rings. Since learning how to use mine, I’ve expanded my repertoire and found new snacks and meals that my family loves. For another great recipe, check out The Perfect Air Fryer Baked Potato (Fluffy Inside, Crispy Skin).
If you’re considering making air fryer onion rings for the first time or even just adding a new twist to your existing recipe, I wholeheartedly encourage you to dive in. Each time I make them, I learn something new and find ways to improve. Don’t hesitate to try out different types of onions or experiment with various seasonings. You might stumble upon a flavor combination that becomes your new favorite.
At the end of the day, cooking is about enjoying the process and sharing delicious food with those we care about. I hope my experiences encourage you to explore the world of air fryer onion rings and make them a staple in your kitchen. Happy cooking, and may your onion rings always be crispy and flavorful! For more healthy side dish ideas, check out Perfectly Roasted Air Fryer Cauliflower (A Healthy Side).
Frequently Asked Questions
“`htmlWhat are air fryer onion rings?
Air fryer onion rings are a healthier twist on classic fried onion rings, providing a satisfying crunch without the need for deep frying. They achieve a golden-brown exterior while keeping the inside tender using circulating hot air.
What type of onions should I use for making onion rings?
Sweet onions like Vidalia or Walla Walla yield the best results due to their natural sweetness. Yellow onions also work well for a more robust flavor. It’s recommended to use large onions to cut thicker rings that hold up during cooking.
What ingredients do I need for the breading of onion rings?
You will need all-purpose flour, breadcrumbs, and eggs. Panko breadcrumbs are recommended for extra crispiness, though regular breadcrumbs can also be used. Seasoned breadcrumbs can be added for additional flavor.
How do I prepare the onion rings before cooking?
Start by peeling the onion and cutting it into approximately ½-inch thick slices. Then, separate the rings and set up a breading station with three shallow bowls for flour, beaten eggs, and breadcrumbs for easy coating.
What temperature should I preheat my air fryer to for onion rings?
Preheat your air fryer to around 375°F (190°C) before cooking the onion rings to ensure even cooking and a nice golden-brown color.
How long should I cook the onion rings in the air fryer?
Cook the onion rings for about 10 to 12 minutes, flipping them halfway through. It’s important not to overcrowd the basket to ensure they cook evenly and achieve maximum crispiness.
Can I reheat leftover onion rings in the air fryer?
Yes, reheating onion rings in the air fryer is recommended. Preheat the air fryer to around 350°F (175°C) and heat the onion rings for about 3 to 5 minutes to keep them crispy.
What are some good dips for serving onion rings?
Classic ketchup is a favorite, but ranch dressing, spicy aioli, and barbecue sauce are also great options. Experimenting with different dips can enhance your onion ring experience.
What are some common mistakes to avoid when making onion rings?
Avoid choosing the wrong type of onion, insufficient breading or coating, and overcrowding the air fryer basket, as these can lead to less than ideal results.
Are there variations on classic onion rings?
Yes, variations include spicy onion rings with jalapeños and cheese-stuffed onion rings. Gluten-free and vegan options can also be created by substituting ingredients accordingly.
“`