
Have you ever enjoyed the delightful crunch of grissini while sipping on a glass of wine or sharing a meal with loved ones? If you haven’t, you’re in for a treat! Making Crispy Sourdough Grissini at home is easier than you think.
Understanding Grissini: The Italian Breadstick
Grissini, those charming little Italian breadsticks, have a fascinating history that takes us back to the 14th century in the region of Piemonte. Legend has it that they were created to aid the digestion of a delicate Duke’s diet. I remember the first time I tried them in a quaint Italian restaurant. They were so light and crispy, I couldn’t help but munch on them throughout the meal!
History of Grissini
The origin of grissini is steeped in culinary lore. They were invented in the city of Turin as a way to provide nourishment to the sickly Duke Vittorio Amedeo II, who was too weak to digest regular bread. This story has always struck me as a beautiful testament to how food can be both functional and delightful. Over the centuries, grissini became a staple in Italian cuisine, celebrated for their simplicity and versatility. Whether served as an appetizer or a snack, they’ve won the hearts of many across the globe.
Regional Variations of Grissini
As I learned more about grissini, I discovered that they vary widely across Italy. In some regions, they are known for being thicker and softer, while others produce them ultra-thin and crispy. For example, in the northern parts of Italy, you might find grissini flavored with herbs or even wrapped in prosciutto. Each region has its own unique twist, and I love experimenting with these variations in my own kitchen. It’s fun to put a personal spin on a classic recipe!
Texture and Flavor Profile
The texture of grissini is one of their most appealing characteristics. They should be perfectly crisp, with a delightful crunch that gives way to a slightly airy interior. The flavor is subtly savory, often enhanced by the richness of olive oil and a sprinkle of sea salt. I’ve found that the addition of spices or herbs can elevate the taste even further. When I make grissini at home, I love to infuse them with rosemary or thyme – it adds a lovely aromatic quality that’s hard to resist!
Ingredients for Crispy Sourdough Grissini
Now that we’ve explored the delightful world of grissini, let’s dive into the ingredients that make these crunchy snacks come to life. With a handful of basic components, we can whip up a batch that’s sure to impress.
Essential Ingredients
The foundation of any good grissini recipe starts with high-quality ingredients. Here’s what I recommend you gather:
- Sourdough starter: This is the secret ingredient that gives our grissini that lovely tangy flavor.
- Flour: All-purpose flour works wonderfully, but you can also experiment with bread flour for a chewier texture.
- Water: This helps to bring the dough together.
- Olive oil: Adds richness and enhances the texture.
- Salt: Essential for flavor.
When I first tried making them, I was surprised at how simple these ingredients were. Yet, together they create something magical! Read Interesting article: Best Mexican appetizers recipes
Optional Add-ins for Flavor
If you want to get creative, there are plenty of optional add-ins that can take your grissini to the next level. I’ve experimented with:
- Herbs: Dried or fresh herbs like rosemary, thyme, or oregano.
- Cheese: Grated Parmesan or Pecorino adds a savory depth.
- Spices: A pinch of garlic powder or red pepper flakes can give them a little kick.
Adding these elements can transform your grissini into something truly special. I’ve found that even a little sprinkle of sesame or poppy seeds on top can add a delightful crunch!
Choosing the Right Flour
Choosing the right flour can make a big difference in your grissini’s final texture. I’ve personally had great success with a mix of all-purpose flour and bread flour. The bread flour provides structure, while the all-purpose flour contributes to that lightness we’re after. It’s all about finding what works best for you, and I encourage you to experiment until you find your perfect blend!
Equipment Needed
Getting the right equipment can make the process of making crispy sourdough grissini so much easier and enjoyable. I’ve found that having the right tools on hand not only simplifies the steps but also elevates the whole baking experience. Here’s what you’ll need to gather before diving into the recipe.
Basic Baking Tools
Let’s start with the essentials. Here are the basic tools I always keep in my kitchen when making grissini:
- Mixing bowl: A large mixing bowl is perfect for combining your ingredients. I usually use a glass or stainless steel bowl since they’re easy to clean.
- Measuring cups and spoons: Precision is key, especially when it comes to flour and water ratios. I recommend using a set of dry and liquid measuring cups for accuracy.
- Rolling pin: This will help you roll out the dough evenly, which is crucial for achieving that perfect grissini shape.
- Pastry brush: This is optional, but I love using a pastry brush to apply olive oil or egg wash before baking for that golden, crispy finish.
These basic tools make the process so much smoother. I remember the first time I didn’t have a rolling pin and tried to use a wine bottle instead. It was a fun challenge, but a rolling pin is definitely worth having!
Mixing and Kneading Equipment
In addition to the basic tools, there are a few more pieces of equipment that can enhance your grissini-making process:
- Stand mixer: If you have one, a stand mixer with a dough hook can be a game changer. It saves time and effort when mixing and kneading the dough. I often use mine when I’m feeling a bit lazy!
- Bench scraper: This handy tool helps with dividing and shaping the dough. It’s especially useful for keeping my work surface clean and organized.
- Kitchen scale: I’ve found that weighing ingredients can lead to more consistent results. If you’re serious about baking, this is a worthwhile investment.
Having these tools on hand makes the whole experience less daunting. The first time I used a stand mixer, it felt like a revelation! I couldn’t believe how easy it made the kneading process.
Baking Sheets and Parchment Paper
Next up, let’s talk about the baking essentials:
- Baking sheets: A good quality baking sheet is essential for even heat distribution. I recommend using a heavy-duty sheet to prevent warping.
- Parchment paper: This is a must-have for preventing sticking and ensuring easy cleanup. I always line my baking sheets with parchment paper; it’s a simple way to make the process less messy.
- Cooling rack: Once your grissini are baked to perfection, transferring them to a cooling rack ensures they stay crispy. I learned that the hard way when I left them on the baking sheet and they became a bit soggy!
These items might seem basic, but they truly make a difference. I remember the first time I tried baking without parchment paper and ended up with a sticky mess. Parchment paper is a lifesaver!
Step-by-Step Instructions for Making Sourdough Grissini
Now that we have our ingredients and equipment ready, let’s get to the fun part: making the sourdough grissini! I can’t wait to share the step-by-step process with you. It’s satisfying to see how simple ingredients transform into something delicious.
Preparing the Sourdough Starter
The first step is to prepare your sourdough starter. If you already have an active starter, you’re good to go! If not, you’ll want to feed your starter a few hours before you begin. I usually take mine out in the morning if I’m planning to bake later in the day. This ensures it’s bubbly and ready to go.
Mixing the Dough
In a large mixing bowl, combine your sourdough starter, flour, water, olive oil, and salt. Mix until everything is well combined. I like to use a wooden spoon or my hands for this part – it feels more personal. The dough will be a bit sticky, which is totally normal!
Kneading the Dough
Once your ingredients are mixed, it’s time to knead the dough. If you’re using a stand mixer, let it run with the dough hook for about 5-7 minutes until the dough is smooth and elastic. If you’re kneading by hand, I recommend doing it on a lightly floured surface for about 10 minutes. I find that this part is therapeutic – there’s something so satisfying about working the dough until it comes together.
Shaping the Grissini
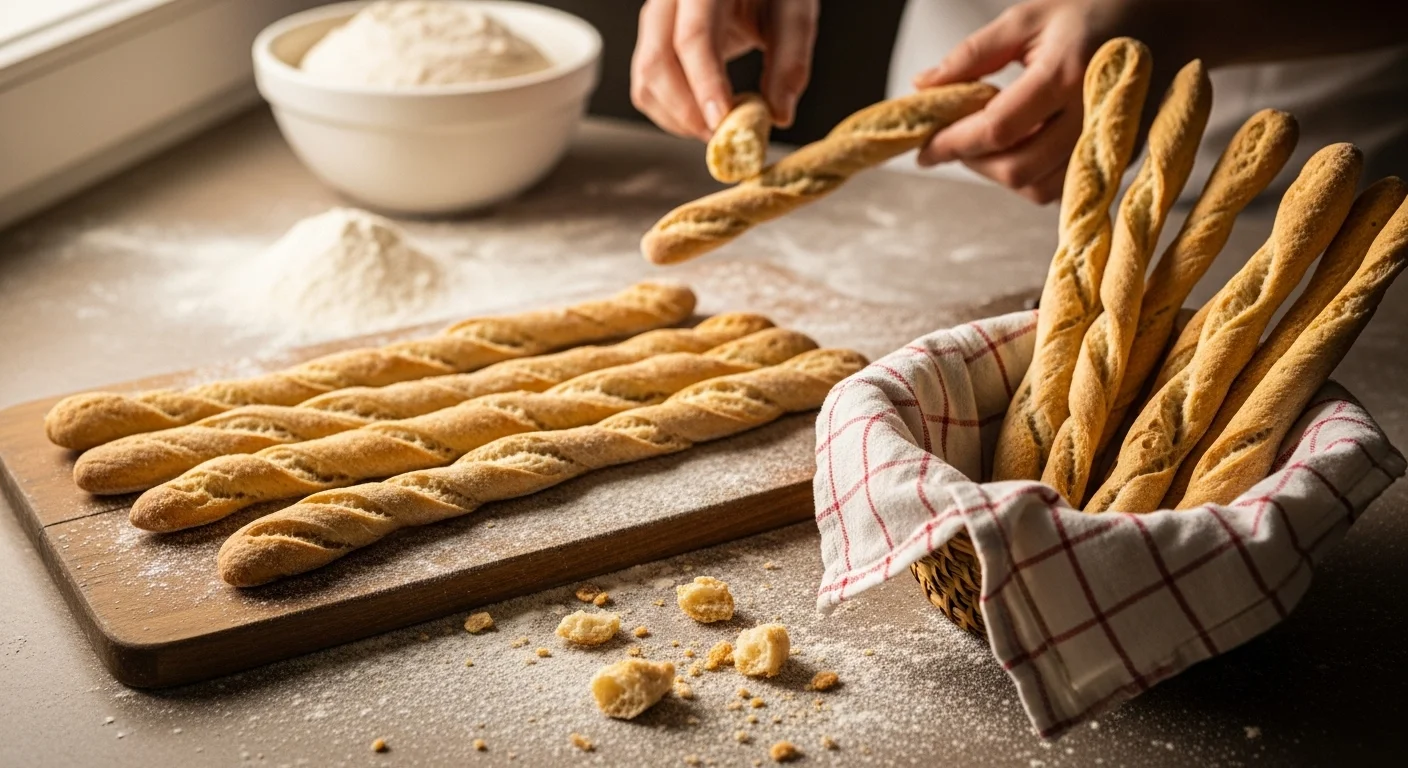
After kneading, let your dough rest for about 30 minutes. This allows the gluten to relax, making it easier to shape. Then, divide the dough into smaller portions and roll each piece into long sticks about the thickness of a pencil. It’s okay if they aren’t perfect; I think the uneven shapes give them character!
Baking the Grissini
Preheat your oven to 400°F (200°C). Place the shaped grissini on a lined baking sheet, making sure to leave space between each stick. Brush them with a little olive oil and sprinkle with sea salt or your favorite toppings. Bake for about 15-20 minutes, or until they’re golden brown and crispy. The aroma that fills your kitchen during this time is simply heavenly!
Cooling and Storing Tips
Once your grissini are out of the oven, let them cool completely on a wire rack. This is crucial for maintaining their crunchiness. If you store them in an airtight container, they can last for up to a week – if they last that long! I often find myself snacking on them before they even make it to storage. Enjoy the process, and happy baking!
Serving Suggestions and Pairings
Once you’ve mastered making crispy sourdough grissini, the fun doesn’t stop there! These delightful breadsticks are incredibly versatile and can be paired with a variety of dishes, dips, and beverages. I love exploring different ways to serve them, and I think you will too!
Best Dips and Spreads
One of my favorite ways to enjoy grissini is by pairing them with delicious dips and spreads. The crunchiness of the grissini complements creamy and flavorful dips beautifully. Here are a few of my go-to options:
- Hummus: The smooth, earthy flavor of hummus is a perfect match. I often make a roasted garlic or spicy red pepper hummus to elevate the experience.
- Pesto: Fresh basil pesto adds a burst of flavor. I love using it as a dip, but you can also spread it on the grissini for an extra tasty treat.
- Olive Tapenade: This savory spread made from olives, capers, and olive oil is a Mediterranean delight. It pairs wonderfully with the crispy texture of grissini.
Experimenting with different dips can be a fun activity, especially when hosting friends or family. I remember one gathering where I set up a dip station with various options, and everyone had a blast trying different combinations!
Pairing with Cheeses and Charcuterie
Grissini also shine when it comes to cheese and charcuterie boards. I love assembling a beautiful platter with a mixture of textures and flavors. Here are a few ideas that have worked well for me:
- Soft Cheeses: Creamy cheeses like Brie or goat cheese provide a lovely contrast to the crunchy grissini.
- Hard Cheeses: Aged cheeses, such as Parmigiano-Reggiano or aged Gouda, add a rich flavor that pairs perfectly with the breadsticks.
- Charcuterie: Thinly sliced prosciutto, salami, or chorizo make for an indulgent experience when paired with grissini. I often wrap grissini in prosciutto for a delightful appetizer!
Creating a charcuterie board can be a fun and creative way to enjoy grissini. I remember one evening where I invited a few friends over and we each brought different cheeses and meats to share. It turned into a feast that we won’t soon forget!
Using Grissini in Appetizer Platters
Grissini are perfect for adding to appetizer platters, especially at gatherings or parties. They can serve as both a delightful snack and a creative presentation element. Here are some ideas I’ve enjoyed:
- Wraps: You can wrap grissini with thin slices of smoked salmon or turkey and secure them with a toothpick for an elegant touch.
- Stuffed Peppers: Serve grissini alongside stuffed mini peppers filled with herbed cream cheese or a savory dip to create a colorful spread.
- Bruschetta Toppings: Place grissini next to a selection of bruschetta toppings, like diced tomatoes with basil, for a fun and interactive appetizer.
When I set up an appetizer platter, I always try to incorporate a variety of textures and flavors. It’s amazing how grissini can elevate the spread, making it look and taste gourmet!
Overall, the ways to enjoy grissini are endless. Whether you choose to dip, spread, or pair them with your favorite flavors, these crispy sticks are sure to impress. I can’t wait for you to try these serving suggestions and discover your favorites!
Common Mistakes to Avoid
Overworking the Dough
One of the most common pitfalls I’ve encountered while making sourdough grissini is overworking the dough. It’s easy to get carried away during kneading, but too much handling can lead to tough sticks instead of the desired crispy texture. I’ve learned that it’s important to knead just enough to develop the gluten without going overboard. The dough should be smooth and elastic but still soft. If you notice it becoming too tough, give it a little rest before continuing. A little patience can go a long way!
Incorrect Baking Time or Temperature
Another mistake I’ve made before was not paying close attention to the baking time or temperature. Each oven is different, and what works for one person might not work for another. I recommend checking your grissini a few minutes before the suggested baking time. If they’re not golden brown yet, keep an eye on them! If they bake for too long, they can become overly hard, and if they’re underbaked, they might end up chewy instead of crispy. Trust your instincts and the smell in your kitchen; it’s usually a good indicator!
Not Allowing for Proper Rising
When I first started making grissini, I didn’t always give the dough enough time to rise. This step is crucial for developing the flavors and the texture. The longer rise allows the sourdough starter to do its magic, which contributes to that lovely tang we all enjoy. I’ve found that a little extra time really pays off. It can be tempting to rush, especially when I’m excited to bake, but I’ve learned that good things come to those who wait!
Variations of Sourdough Grissini
Herb-Infused Grissini
If you’re like me and enjoy experimenting in the kitchen, you’ll love the idea of herb-infused grissini. Adding chopped fresh or dried herbs to the dough can take your breadsticks to another level. I’ve made rosemary and thyme variations that have been a hit at gatherings. Simply mix in about a tablespoon of your favorite herb into the dough before kneading. The aroma while they bake is absolutely delightful, and they pair beautifully with cheeses and dips.
Cheese-Studded Grissini
For those who can’t resist cheese, cheese-studded grissini are a must-try! I like to fold in shredded Parmesan or Pecorino right into the dough. This not only adds flavor but also creates a lovely, savory bite. You can also sprinkle some grated cheese on top before baking for a cheesy crust. I remember the first time I made these; they disappeared within minutes at a party. Everyone was asking for the recipe!
Sweet Grissini with Chocolate or Nuts
If you’re feeling adventurous, why not try making sweet grissini? I’ve dabbled with adding cocoa powder to the dough or even drizzling melted chocolate over the baked sticks. Nuts like chopped almonds or hazelnuts can also be mixed in for a delightful crunch. These sweet variations are fantastic for dessert platters or as a unique snack. I once made a batch for a gathering, and they were a sweet surprise that everyone loved!
FAQs About Sourdough Grissini
Can I use regular yeast instead of sourdough?
While sourdough is what gives grissini their unique flavor and texture, you can use regular yeast if you don’t have a starter on hand. Just remember that the process and flavor will differ. You’d have to adjust the amount of yeast and the rising time accordingly. However, I believe that using sourdough elevates the grissini experience!
How long do grissini last?
If stored properly in an airtight container, your grissini can last about a week. I’ve found that they also taste best when enjoyed fresh, so try to make only what you’ll eat in a few days. If they become a bit soft, you can pop them back in the oven for a few minutes to regain their crunch!
Can I freeze grissini?
Absolutely! Freezing grissini is a great way to save some for later. I like to freeze them in a single layer on a baking sheet before transferring them to a freezer bag. When you’re ready to enjoy them again, just bake them straight from the freezer for a few minutes to warm them up. They taste almost as good as fresh!
What to do if my grissini are not crispy?
If your grissini aren’t as crispy as you’d like, it could be due to underbaking or too much moisture in the dough. The next time you make them, try increasing the baking time slightly or ensuring that you’re using the right flour-to-water ratio. Also, letting them cool completely on a wire rack will help maintain that delightful crunch we all love.
Final Thoughts
Making crispy sourdough grissini is not just about following a recipe; it’s a journey of flavors and creativity. From the history and variations to the joy of sharing them with friends and family, grissini have a special place in my heart and on my table. I encourage you to experiment, try different flavors, and make them your own. Whether you’re enjoying them as a snack, an appetizer, or even a sweet treat, I hope you find as much joy in making and sharing grissini as I have. Happy baking, and may your kitchen always be filled with the wonderful aroma of freshly baked breadsticks!
Frequently Asked Questions
What are grissini?
Grissini are charming little Italian breadsticks that originated in the 14th century in Piemonte, Italy. They are known for their light and crispy texture, often enjoyed with wine or as a snack.
Where did grissini originate?
Grissini were invented in the city of Turin, Italy, to provide nourishment to the sickly Duke Vittorio Amedeo II, who had difficulty digesting regular bread.
What are the essential ingredients for making crispy sourdough grissini?
The essential ingredients include sourdough starter, all-purpose flour (or bread flour), water, olive oil, and salt.
Can I add flavor to my grissini?
Yes! You can enhance the flavor of your grissini by adding optional ingredients such as dried or fresh herbs, grated cheese, or spices like garlic powder or red pepper flakes.
What equipment do I need to make grissini?
You will need basic baking tools such as a mixing bowl, measuring cups and spoons, a rolling pin, and optionally, a pastry brush. Additional equipment like a stand mixer, bench scraper, and kitchen scale can also enhance the process.
How long should I bake grissini?
Grissini should be baked at 400°F (200°C) for about 15-20 minutes, or until they are golden brown and crispy.
How should I store grissini?
If stored in an airtight container, grissini can last for about a week. To maintain their crunchiness, let them cool completely on a wire rack before storing.
Can I freeze grissini?
Yes, you can freeze grissini. It is recommended to freeze them in a single layer on a baking sheet before transferring to a freezer bag. When ready to eat, bake them straight from the freezer for a few minutes.
What are some common mistakes to avoid when making grissini?
Common mistakes include overworking the dough, incorrect baking time or temperature, and not allowing the dough to rise properly. Each of these can affect the texture and crunchiness of the final product.
What are some serving suggestions for grissini?
Grissini can be served with various dips like hummus, pesto, or olive tapenade. They also pair well with cheeses and charcuterie, and can be included in appetizer platters for gatherings. Read Interesting article: This Cinnamon Roll TikTok Trend Is My New Personality
“`