
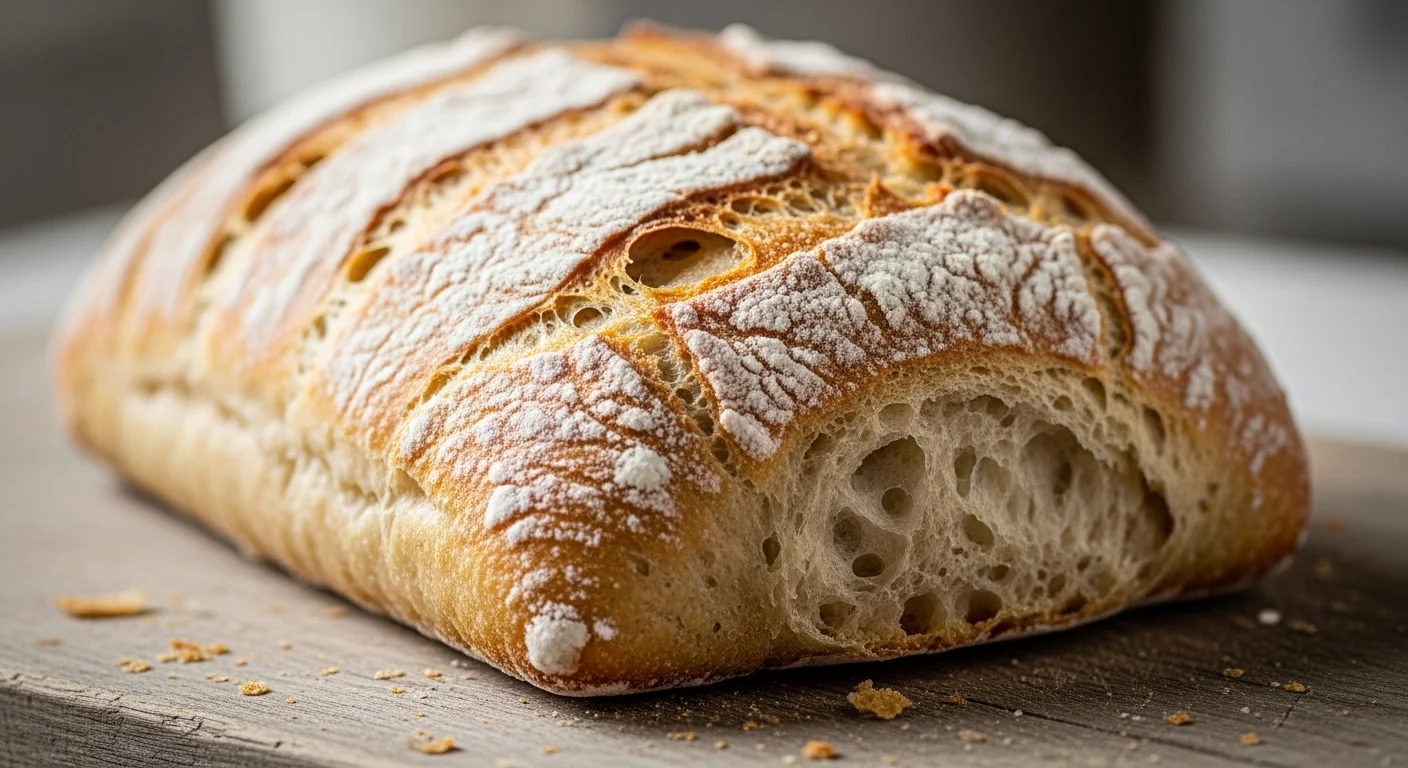
Crusty gluten-free ciabatta bread is a game changer for anyone craving that artisan-style loaf without the gluten. Imagine tearing into a warm, rustic loaf with a crispy crust and airy inside—it’s simply irresistible! It pairs wonderfully with various dishes, including This Cozy Chicken Tortellini Soup Trend Deserves Hype.
Understanding Gluten-Free Ciabatta Bread
What is Ciabatta Bread?
Ciabatta is an Italian bread that has a unique shape, characterized by its rustic, long, and flat form. With its chewy crust and airy interior, it’s become a favorite around the world. Traditionally made with wheat flour, ciabatta is known for its pronounced crust and soft texture, making it perfect for sandwiches or served alongside soups and salads. I remember the first time I had a freshly baked ciabatta; I was taken aback by the delightful contrast between the crispy crust and the fluffy inside. It quickly became a staple in my kitchen. However, for those of us who need to avoid gluten, it might seem like a distant memory. But the good news is that we can recreate that magic in a gluten-free version!
Differences Between Gluten-Free and Traditional Ciabatta
The main difference between traditional ciabatta and gluten-free ciabatta is, of course, the flour. Traditional recipes rely on gluten-containing flours that provide elasticity and structure, which is crucial for the bread’s unique texture. Gluten-free ciabatta, on the other hand, uses a blend of gluten-free flours and other ingredients to mimic that chewy texture. I found that creating a gluten-free version requires a bit of experimentation, but the result can be just as delightful when done right. The key is to find the right balance of ingredients to achieve that classic ciabatta feel without the gluten.
Key Ingredients for Crusty Gluten-Free Ciabatta
Gluten-Free Flour Options
Choosing the right gluten-free flour is essential for making a successful ciabatta. I’ve found that a blend works best, combining different types of gluten-free flours like brown rice flour, tapioca flour, and potato starch. Each flour contributes its unique properties—brown rice flour gives structure, while tapioca flour adds chewiness. I often use a store-bought gluten-free flour blend specifically designed for bread, as these are formulated to mimic the properties of wheat flour. It’s a great starting point if you’re new to gluten-free baking!
Hydration Levels and Their Importance
One of the most surprising things I learned about gluten-free baking is how crucial hydration is. Gluten-free dough often requires more water than traditional dough. This might sound counterintuitive, but it helps hydrate the flour and creates a better structure. I usually start with a hydration level around 75-80%. The dough should be sticky and wet, which can be intimidating if you’re used to working with traditional bread dough. However, that extra moisture is what will give your gluten-free ciabatta that beautiful crumb and crust.
Yeast and Leavening Agents
When I bake gluten-free ciabatta, I stick to active dry yeast or instant yeast. Both work well, but I’ve noticed that using instant yeast can save a bit of time since there’s no need to activate it separately. The yeast is responsible for the rise, and because gluten-free dough lacks the elasticity that gluten provides, it can take longer to rise. I usually give it an extra hour or so compared to traditional recipes. This slow fermentation helps develop flavor and texture, which is critical for a satisfying loaf.
Additional Ingredients for Flavor and Texture
To elevate your gluten-free ciabatta, consider adding ingredients like olive oil, herbs, or even a bit of vinegar. I love adding a splash of olive oil to the dough for richness, and fresh herbs like rosemary or thyme can add a delightful fragrance. A little vinegar helps with the dough’s acidity and also contributes to its texture. I often experiment with different combinations to find what I like best, and each variation brings a unique twist to the final loaf. For instance, a creamy spinach dip pairs perfectly with ciabatta, reminding me of Everyone Is Making This Creamy Spinach Pasta and Now I Know Why.
Equipment Needed for Baking Ciabatta
Choosing the Right Baking Tools
Having the right tools can make a world of difference when baking gluten-free ciabatta. I recommend investing in a good mixing bowl, a digital kitchen scale for accuracy, and a bench scraper for handling the sticky dough. A stand mixer with a dough hook can be very helpful but isn’t necessary. I’ve mixed my dough by hand many times, and it works just fine as long as you’re prepared for a bit of a workout!
Importance of a Baking Stone or Steel
One of the best tips I can give you is to use a baking stone or steel. When I started using a baking stone, I noticed a significant improvement in the crust. The stone retains heat and helps create that crispy exterior we all love in ciabatta. If you don’t have a stone, a heavy-duty baking sheet turned upside down can also work in a pinch. Preheating it in the oven is essential for replicating that artisan-style crust.
Step-by-Step Recipe for Crusty Gluten-Free Ciabatta
Preparing the Dough
Now that we have our ingredients and tools ready, it’s time to dive into the fun part: making the dough! I usually start by mixing the gluten-free flours in a large mixing bowl. Then, I add the yeast and any dry seasonings, like salt. I find it helps to whisk these dry ingredients together first so that the yeast can evenly distribute. Next, I create a well in the center and pour in the warm water—making sure it’s not too hot, as this could kill the yeast. I also add olive oil and any vinegar I’m using at this stage. With a spatula or my trusty bench scraper, I gently fold the flour into the liquid until it comes together into a sticky mass. It’s definitely a different texture compared to traditional dough, but that’s perfectly normal!
Fermentation Techniques
Once the dough is mixed, I transfer it to a lightly greased bowl and cover it with a damp cloth. The first rise is crucial, so I like to let it sit in a warm place for about an hour. I’ve found that this is when the magic happens; the dough expands and gets a bit airy. If I have the time, I do a long, slow rise in the fridge overnight. This not only enhances the flavor but also improves the texture. If you choose this method, just remember to take it out in advance to come back to room temperature before shaping.
Shaping the Ciabatta Loaf
After the dough has risen, it’s time to shape our ciabatta. I sprinkle a generous amount of gluten-free flour on my work surface, which helps prevent sticking. Gently turn the dough out onto the floured surface without deflating it too much—this is where that airy interior comes from! I use my hands to pat it into a rectangle, aiming for about 1 to 1.5 inches thick. I find it helpful to use a bench scraper to cut the dough in half, creating two loaves. I then carefully lift each half and place it on a piece of parchment paper. To give it that classic ciabatta look, I gently stretch the edges of the dough and tuck them underneath. A light dusting of flour on top can help with sticking, too!
Baking Instructions for Optimal Crust
With the loaves shaped, it’s time to let them rise again. I cover them lightly with a damp cloth and let them sit for another 30-45 minutes. Meanwhile, I preheat my oven to a scorching 450°F (232°C) and place my baking stone or upside-down baking sheet inside to heat up. This is key for achieving that crispy crust. Just before I’m ready to bake, I create steam in the oven by placing a shallow pan filled with water on the bottom rack. This steam helps the crust develop beautifully.
Once the loaves have puffed up a bit, I carefully slide them (still on the parchment) onto the hot baking stone or sheet. I love hearing that sizzle as they hit the hot surface! I bake them for about 25-30 minutes until they’re golden brown and sound hollow when tapped on the bottom. If I want an even crustier loaf, I sometimes turn off the oven and leave the bread inside for another 5-10 minutes. This little extra time helps to set the crust perfectly.
After baking, I let the ciabatta cool on a wire rack. It’s tough to resist tearing into them right away, but waiting allows the interior texture to set. The aroma is simply intoxicating—I often find myself daydreaming about how I’ll enjoy it once it’s cooled!
Tips for Perfecting Your Gluten-Free Ciabatta
Common Mistakes to Avoid
As with any baking adventure, there are a few common pitfalls I’ve encountered while making gluten-free ciabatta. One of the biggest mistakes is not measuring ingredients accurately. Gluten-free baking can be quite sensitive to ratios, so I always recommend using a digital scale for precision. Another mistake is not giving the dough enough time to rise. Patience is key! Rushing through the process can lead to denser bread, which isn’t what we want. Lastly, some folks worry too much about the stickiness of the dough; embracing that texture is part of the gluten-free journey!
How to Achieve the Best Crust
To get that irresistible crust, I’ve learned a few tricks along the way. As I mentioned earlier, a baking stone or steel is a game changer. Additionally, steam is crucial; it helps create that crispy outer layer. If I’m ever unsure, I’ll keep an eye on the color of the crust. A golden-brown finish usually means it’s well on its way to being perfect. Finally, remember to allow the bread to cool completely before slicing; this helps maintain the structure and the crustiness I adore.
Storage Tips for Freshness
Once our ciabatta is baked and cooled, I like to store it properly so it stays fresh. If we don’t eat it all right away, I’ll wrap the loaves in a clean kitchen towel and keep them at room temperature for a day or two. For longer storage, I suggest slicing the bread and freezing it in an airtight bag. This way, we can enjoy a slice whenever the craving strikes! Just pop it in the toaster or oven to reheat, and it’ll taste almost as good as fresh.
Serving Suggestions for Ciabatta Bread
Pairing with Dips and Spreads
Once I’ve got a fresh loaf of gluten-free ciabatta, the first thing I want to do is enjoy it! One of my favorite ways to savor this bread is by pairing it with delicious dips and spreads. A classic olive oil and balsamic vinegar dip is always a hit at my table. Just drizzle some high-quality extra virgin olive oil in a small dish, add a splash of balsamic vinegar, and sprinkle with a bit of sea salt. I love the way the bread soaks up the oil while contrasting with the tangy vinegar. It’s pure bliss!
Hummus is another fantastic option. I’ve experimented with several flavors, from classic to roasted red pepper, and they all go beautifully with the ciabatta. The creamy texture of hummus complements the crusty bread perfectly, creating a delightful bite. If I want something a little richer, I’ll whip up a batch of creamy spinach dip or a classic tzatziki. Spreading these on warm ciabatta makes for an irresistible appetizer or snack that’s sure to impress anyone who tries it. You might even find inspiration from This Viral Chicken Toast Fold Might Replace Breakfast for a unique twist!
Using Ciabatta for Sandwiches
Of course, I can’t talk about ciabatta without mentioning sandwiches! The shape and texture of gluten-free ciabatta make it an excellent choice for hearty sandwiches. I remember the first time I made a caprese sandwich with fresh mozzarella, tomatoes, basil, and a drizzle of balsamic glaze on a toasted ciabatta. It was heavenly! The crisp crust added a satisfying crunch, while the fluffy interior held all the delicious fillings perfectly.
Another combo I love is a turkey and avocado sandwich. I layer thinly sliced turkey breast, ripe avocado, and a bit of mustard on my ciabatta. The flavors meld together beautifully, and the crunchy bread helps keep everything in place. For a vegetarian option, I’ve enjoyed roasted vegetables with hummus or a savory chickpea salad piled high on ciabatta. The possibilities are endless, and each creation is a joy to eat!
Complementary Soups and Salads
Ciabatta also shines when served alongside soups and salads. I often make a big pot of tomato basil soup and serve it with slices of warm ciabatta for dipping. There’s something comforting about the combination, especially on a chilly day. The bread absorbs the rich flavors of the soup, creating a heartwarming experience that I always look forward to.
On warmer days, I love pairing my ciabatta with a light salad. The crunchiness of the bread contrasts nicely with the fresh greens. A simple arugula salad with lemon vinaigrette and shaved parmesan is a favorite of mine. I’ve also enjoyed ciabatta with a Mediterranean salad made with cucumbers, olives, and feta cheese—each bite tastes like a trip to the coast!
For those of us who love to entertain, serving ciabatta alongside a charcuterie board is a fantastic idea. I’ll add some cured meats, cheeses, olives, and pickles, then slice the ciabatta into wedges for easy sharing. It’s always a crowd-pleaser and offers a mix of flavors and textures that everyone can enjoy.
Frequently Asked Questions about Gluten-Free Ciabatta
Can I Use Regular Yeast in Gluten-Free Baking?
When I first started baking gluten-free, I wondered if I could use regular yeast instead of the specialized kinds. From my experience, you can use regular active dry yeast, but it’s crucial to check that it’s fresh and hasn’t expired. Gluten-free dough tends to have a different texture, and while it may not rise as dramatically as wheat-based bread, using quality yeast will still help achieve a nice rise. I’ve had success using instant yeast as well, which eliminates the need for activation. Just remember that patience is key, as gluten-free dough can take a little longer to rise!
How Long Does Gluten-Free Ciabatta Last?
I’ve found that gluten-free ciabatta is best enjoyed fresh within a couple of days. However, if stored properly, it can last a little longer. Keeping it wrapped in a kitchen towel at room temperature is a good option for short-term storage. If I know I won’t finish the loaf quickly, I slice it and freeze the pieces in an airtight bag. This way, I can toast a slice anytime I crave that fresh ciabatta taste!
Can I Freeze Gluten-Free Ciabatta?
Absolutely! Freezing gluten-free ciabatta is one of my favorite tricks. After baking and cooling, I slice the bread and place the slices in a freezer bag. This makes it super convenient to grab just the amount I need. When I want to enjoy a piece, I’ll pop it in the toaster or the oven to reheat, and it’s almost as good as fresh out of the oven. It’s a fantastic way to ensure I always have delicious ciabatta on hand without the stress of baking from scratch every time!
Frequently Asked Questions
What is gluten-free ciabatta bread?
Gluten-free ciabatta bread is a version of the traditional Italian ciabatta bread that is made without gluten, allowing those with gluten sensitivities to enjoy a similar artisan-style loaf with a crispy crust and airy inside.
What are the key differences between gluten-free ciabatta and traditional ciabatta?
The main difference lies in the flour used; traditional ciabatta is made with gluten-containing flours that provide elasticity and structure, while gluten-free ciabatta uses a blend of gluten-free flours to mimic the texture of the original.
What gluten-free flour options are best for making ciabatta?
A blend of different gluten-free flours works best, including brown rice flour, tapioca flour, and potato starch. Store-bought gluten-free flour blends specifically designed for bread are also a great starting point.
Why is hydration important in gluten-free baking?
Gluten-free dough requires more water than traditional dough, typically around 75-80% hydration. This extra moisture hydrates the flour and creates a better structure, resulting in a beautiful crumb and crust.
What types of yeast can be used in gluten-free ciabatta?
Active dry yeast or instant yeast can be used in gluten-free ciabatta. Instant yeast is often preferred for its convenience, as it does not need to be activated separately.
What additional ingredients can enhance the flavor of gluten-free ciabatta?
Adding ingredients like olive oil, herbs, and vinegar can elevate the flavor of gluten-free ciabatta. Olive oil adds richness, while fresh herbs contribute fragrance, and vinegar helps with the dough’s acidity.
What equipment is recommended for baking gluten-free ciabatta?
Essential tools include a good mixing bowl, a digital kitchen scale for accuracy, a bench scraper, and ideally a baking stone or steel to improve the crust.
How should gluten-free ciabatta be stored for freshness?
For short-term storage, wrap the loaves in a clean kitchen towel and keep them at room temperature for a day or two. For longer storage, slice the bread and freeze it in an airtight bag.
Can gluten-free ciabatta be frozen?
Yes, gluten-free ciabatta can be frozen. After baking and cooling, slice the bread and place the slices in a freezer bag for easy access later.
What are some serving suggestions for gluten-free ciabatta?
Gluten-free ciabatta pairs well with dips like olive oil and balsamic vinegar, can be used for hearty sandwiches, and complements soups and salads beautifully.