
Have you ever craved a delicious cake but felt too rushed to bake one? I’ve been there! Luckily, I discovered how to whip up a scrumptious homemade cake in just 20 minutes. Let’s dive into this delightful journey together!
Why Homemade Cake?
There’s something incredibly special about homemade cake. The smell wafting through the kitchen, the warmth of the oven, and the satisfaction of creating something from scratch—it’s a feeling I can’t quite describe. Plus, homemade cakes are often healthier than store-bought ones since you control the ingredients. I’ve realized that making cake at home can be both quick and rewarding. Here’s how I learned to make a delicious cake in just 20 minutes!
Gathering Ingredients
The first step in our cake-making journey is gathering the ingredients. I remember the first time I decided to bake a cake quickly. I felt overwhelmed by the thought of measuring and mixing too many ingredients, but it turned out to be simpler than I expected. For a basic cake, you’ll need:
- 1 cup of all-purpose flour
- 1 cup of sugar
- 1/2 cup of unsalted butter, softened
- 2 large eggs
- 1/2 cup of milk
- 1 tablespoon of baking powder
- 1 teaspoon of vanilla extract
- 1/4 teaspoon of salt
These ingredients are pretty standard and likely already in your pantry. I love how easy it is to make adjustments based on what I have. For instance, if I run out of milk, I’ve substituted with yogurt or even applesauce, which turned out deliciously!
Mixing It Up
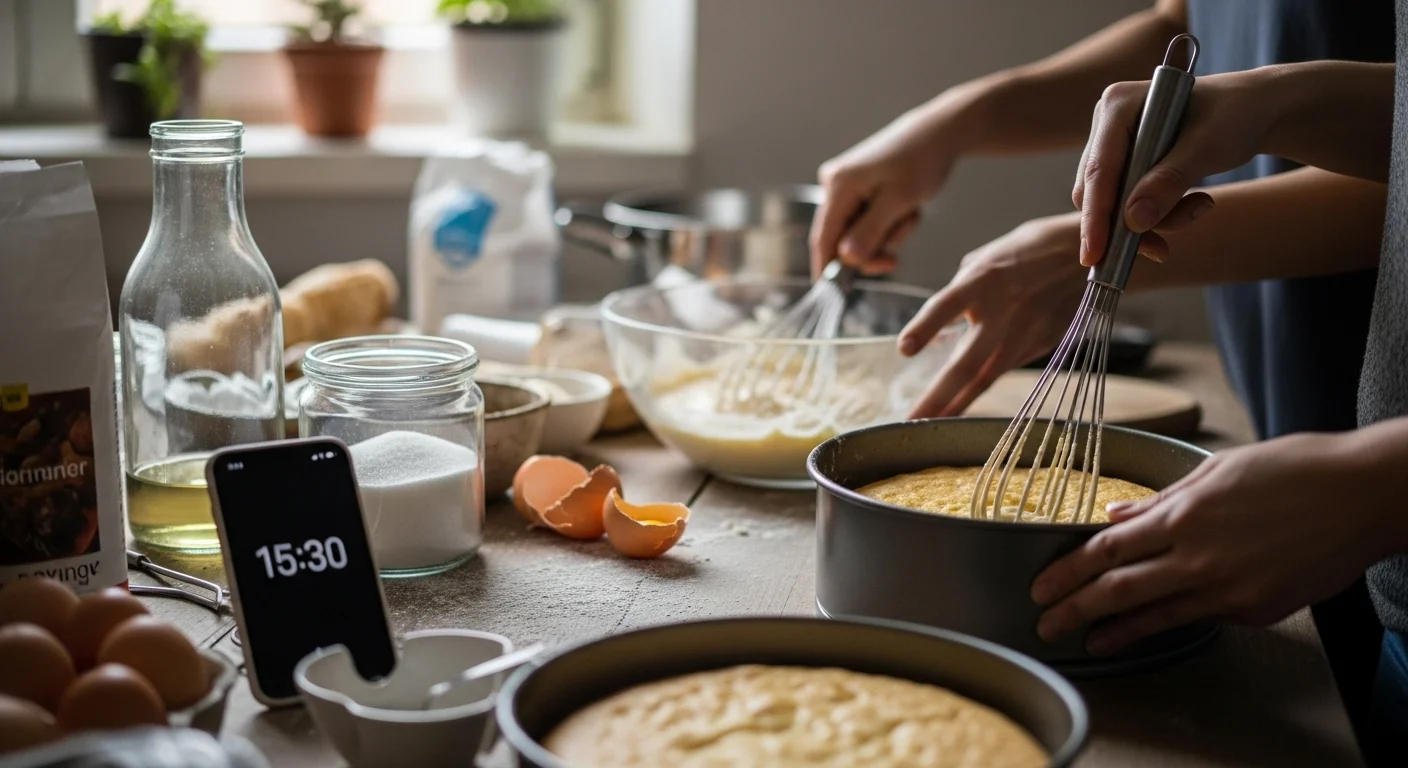
Once I have everything ready, it’s time to mix. I find this part incredibly satisfying. In a large mixing bowl, I start by creaming together the butter and sugar. I use an electric mixer for this, but a good old-fashioned whisk works too. I’ve discovered that mixing until the mixture is light and fluffy makes a big difference in the final texture of the cake.
Next, I add the eggs one at a time, ensuring each is fully incorporated before adding the next. I remember the first time I forgot to do this, and the batter turned out uneven. Then, I mix in the vanilla extract. The aroma is heavenly, and it always reminds me of family gatherings where cake was the star of the show.
Dry Ingredients Go In
Now, it’s time to combine the dry ingredients. In a separate bowl, I whisk together the flour, baking powder, and salt. This step helps evenly distribute the baking powder, which is crucial for a light cake. I then gradually add this dry mixture to my wet ingredients, alternating with the milk. I do this in three parts: one third of the flour mixture, half of the milk, another third of the flour, the remaining milk, and finally, the last of the flour. This technique helps keep the batter smooth and prevents lumps, which I learned the hard way!
After mixing until just combined, I stop to savor the moment. The batter looks beautiful, and I can’t help but sneak a taste. It’s such a joy to know I’m just moments away from a freshly baked cake!
Baking Time!
Now comes the exciting part—baking! I preheat my oven to 350°F (175°C). While it preheats, I prepare my cake pan. I usually use an 8-inch round pan, but I’ve also used square or even muffin tins when I want to change things up. I grease the pan with butter and a little flour to prevent sticking. This is a step I never forget now, especially after a few sticky situations!
Next, I pour the batter into the prepared pan, making sure it’s evenly spread. I pop it into the oven and set a timer for 20 minutes. The hardest part for me is waiting! I can already smell the cake as it begins to bake, and I often open the oven door slightly to peek in, even though I know it’s a no-no. The golden brown color developing is just too tempting!
Testing for Doneness
After 20 minutes, the moment of truth arrives. I take a toothpick and gently poke the center of the cake. If it comes out clean, I know it’s done! If not, I give it a few more minutes. I’ve learned that every oven is a little different, and sometimes this can affect baking time. Once it’s ready, I carefully remove the cake from the oven and let it cool in the pan for about 10 minutes before transferring it to a wire rack.
Finishing Touches
Now comes the fun part—decorating! I love to keep it simple with a dusting of powdered sugar or a quick glaze made of sugar and milk. If I’m feeling adventurous, I’ve added fruit or whipped cream on top. Each time I bake, I experiment with different toppings, and it’s always exciting to see how it changes the cake’s flavor and appearance.
After all that, I finally get to enjoy a slice of my homemade cake. It’s warm, fluffy, and oh-so-satisfying. I often share slices with friends or family, and seeing their smiles is the icing on the cake—quite literally! I hope you feel inspired to try making your own cake in just 20 minutes. Trust me, once you start, you’ll find it hard to stop!
Flavor Variations
One of the things I love most about making cake at home is the chance to get creative with flavors. While the basic vanilla cake is a classic, I’ve found it so much fun to experiment with different tastes and styles. It’s almost like a blank canvas waiting for your personal touch. Let me share a few of my favorite flavor variations that I’ve tried and absolutely loved!
Chocolate Cake
There was a time when I was feeling a serious chocolate craving. I decided to transform my basic cake into a chocolate delight. All I did was replace a quarter cup of flour with cocoa powder, and oh my goodness, that rich chocolate flavor was heavenly! I also added a bit more sugar to balance the slight bitterness of the cocoa. The result was a moist, decadent chocolate cake that I couldn’t resist topping with chocolate ganache. I remember cutting into it and seeing that luscious, dark interior—it was pure bliss!
Citrus Burst
Another flavor I adore is citrus. On a sunny afternoon, I wanted something light and refreshing, so I decided to add some zest to my cake. I used the zest of one lemon and one orange, and it made the whole kitchen smell amazing! I even substituted some of the milk with fresh orange juice. This little twist created a bright, zesty flavor that was perfect for spring gatherings. I topped it off with a citrus glaze, and it quickly became a favorite among my friends.
Spiced Cake
As the seasons change, I love to bring in flavors that match the time of year. For fall, I discovered the magic of spices. I added cinnamon, nutmeg, and a dash of ginger to my batter. The aroma that filled my kitchen was like a warm hug on a chilly day. This spiced cake pairs beautifully with cream cheese frosting, which I learned after a delightful experiment. I can still remember bringing it to a potluck, and seeing everyone’s faces light up with joy. It’s amazing how a few spices can bring out such warmth and comfort.
Fruity Goodness
Then there are those times when I want to incorporate fresh fruits into my cake. I’ve had great success using mashed bananas or applesauce to add moisture and sweetness. One of my favorite combinations is banana cake with walnuts. I simply mash two ripe bananas and fold them into the batter before baking. The flavor is incredible, and the texture is moist and tender. I enjoy adding chopped walnuts for a little crunch, too. It’s like having banana bread, but in cake form!
Another fruity variation that surprised me was using berries. I once made a strawberry cake by folding in fresh strawberries right into the batter. It was such a treat when I cut into the cake and saw those beautiful crimson pieces scattered throughout. I even used some leftover berries to make a quick berry compote to drizzle on top. It added a lovely touch and made the cake feel extra special.
Storage Tips
Once you’ve created your masterpiece, you might wonder how to store the leftovers—if there are any! I know how tempting it is to dive right in, but I’ve learned a few tricks to keep your cake fresh and delicious for days to come.
First, make sure the cake is completely cooled before storing. I usually let it sit on the wire rack for a good hour. If you put a warm cake in the fridge, it can become dry and lose its fluffy texture. Once it’s cooled, I wrap it tightly in plastic wrap. This helps seal in moisture and keeps the cake soft. If I made a frosted cake, I often place it in an airtight container instead, to protect the frosting from drying out.
If you find yourself with a lot of cake that you can’t finish within a few days, I recommend freezing it. I slice the cake into individual pieces and wrap each slice in plastic wrap, then place them in a freezer bag. When I’m ready to enjoy a slice, I simply take it out and let it thaw at room temperature for a bit. It’s like having a little treat waiting for me whenever I want!
Sharing the Joy
One of the best parts about baking is sharing what I’ve made with others. I remember the first time I brought a cake to a friend’s birthday party. Everyone gathered around, and I felt this rush of joy as they took their first bites. The smiles and compliments meant the world to me. I believe that food has this incredible ability to bring people together, and cake, in particular, is a celebration of joy.
Whether it’s a birthday, a holiday, or just a casual gathering, I’ve found that people appreciate the effort that goes into homemade treats. It’s a chance to connect with friends and family, to make memories, and to create a little happiness. So, whenever I bake, I always think about who I can share it with next.
Common Mistakes to Avoid
As I’ve dived deeper into the world of baking, I’ve made my fair share of mistakes. Each one has taught me something valuable, and I want to share these lessons with you so you can avoid the same pitfalls. Trust me, learning from these missteps can make your cake-baking experience even more enjoyable!
Not Measuring Ingredients Properly
One of the biggest lessons I learned was the importance of accurate measurements. I remember a time when I thought I could eyeball the ingredients. I was in a rush, and I figured a little extra flour wouldn’t hurt. Well, I ended up with a dense cake that was more like a brick than a fluffy treat! Since then, I’ve made it a habit to measure everything carefully. Using a kitchen scale for ingredients can be incredibly helpful, especially for flour and sugar, which can be tricky. I feel so much more confident in my baking when I know I’m starting with the right measurements!
Overmixing the Batter
Another mistake I made early on was overmixing the batter. I was so excited about getting everything perfectly blended that I kept mixing long after it was combined. This caused my cakes to come out tough instead of light and airy. Now, I mix just until the ingredients are combined. It’s okay if there are a few small lumps; they usually bake out just fine. This little trick has really made a difference in the texture of my cakes!
Ignoring Oven Temperature
We all know that ovens can be temperamental. I’ve had my fair share of baking disasters because I didn’t pay attention to temperature. Sometimes, I’d crank the heat up thinking it would speed up the process, only to end up with a burnt top and a raw center. I learned that every oven is different, so investing in an oven thermometer has been a game changer for me. Now, I make sure to preheat my oven correctly and keep an eye on it while baking. It’s amazing how much difference a few degrees can make!
Baking in a Cold Oven
Speaking of oven temperatures, I’ve also made the mistake of putting my cake in a cold oven. I remember one time I was distracted and forgot to preheat before pouring in the batter. The result? A cake that didn’t rise as it should have and ended up looking flat. Now, I always check to ensure my oven is properly preheated before I bake. It’s a simple step, but it makes a world of difference in the end result.
Tools and Gadgets That Make Baking Easier
Over the years, I’ve gathered a few tools that have made my baking experience smoother and more enjoyable. If you’re looking to step up your cake game, I recommend investing in some of these essentials!
Quality Mixing Bowls
First up, mixing bowls. I can’t stress enough how important it is to have a good set. I’ve found that stainless steel or glass bowls work best for me. They’re durable, easy to clean, and don’t retain odors or stains. Plus, having a variety of sizes means I can easily separate ingredients without scrambling to find the right bowl.
Electric Mixer
Next on my list is an electric mixer. While whisking by hand can be a workout, having a good stand mixer or hand mixer makes life so much easier! I remember the first time I used my stand mixer; it felt like I was in a baking dream. I could walk away and let it do the work while I prepared other ingredients. It’s definitely worth the investment if you plan to bake often!
Silicone Spatulas
Silicone spatulas are another must-have. They’re perfect for scraping down the sides of the bowl and getting every last bit of batter out. I love that they’re heat-resistant and come in fun colors too! They’ve made my mixing process not only easier but also more fun.
Measuring Tools
Of course, I can’t forget about measuring cups and spoons. I’ve learned to have both dry and liquid measuring cups on hand for better accuracy. I also keep a set of measuring spoons handy for small quantities. It’s a good idea to invest in a set that has both standard measurements and metric equivalents, making it easier when trying out new recipes from different regions.
When to Get Creative
Baking can feel like a science, but it’s also an art form. I love to get creative in the kitchen, especially when I feel comfortable with my basic cake recipe. Once you’ve mastered the essentials, you’ll find there’s so much room for experimentation!
Substituting Ingredients
One of the first ways I got creative was by substituting ingredients. If I didn’t have butter, I’ve used coconut oil or even applesauce to cut down on fat. Each swap has its own flavor and texture, and it’s fun to see how it changes the final product. I’ve learned that baking is all about balance, so don’t be afraid to play around with different options!
Adding Mix-Ins
Another area to explore is mix-ins. I love adding chocolate chips, nuts, or dried fruit to my batter. They add texture and surprise flavors that keep things exciting. I remember once adding a handful of dark chocolate chips and walnuts to a basic batter, and it turned out to be a huge hit! It’s amazing how simple additions can elevate a cake from ordinary to extraordinary.
Frequently Asked Questions
“`html1. How long does it take to make a homemade cake?
A homemade cake can be whipped up in just 20 minutes.
2. What are the basic ingredients needed for a simple cake?
For a basic cake, you will need 1 cup of all-purpose flour, 1 cup of sugar, 1/2 cup of unsalted butter (softened), 2 large eggs, 1/2 cup of milk, 1 tablespoon of baking powder, 1 teaspoon of vanilla extract, and 1/4 teaspoon of salt.
3. Can I substitute ingredients if I run out of something?
Yes! You can make adjustments based on what you have. For instance, if you run out of milk, you can substitute it with yogurt or applesauce.
4. What is the best way to ensure my cake batter is mixed properly?
Mix the butter and sugar until light and fluffy, add eggs one at a time, and combine the dry ingredients separately before gradually mixing them with the wet ingredients to keep the batter smooth and prevent lumps.
5. How can I test if my cake is done baking?
To test for doneness, poke the center of the cake with a toothpick. If it comes out clean, the cake is done; if not, give it a few more minutes.
6. What are some creative flavor variations I can try in my cake?
You can experiment with flavors like chocolate by adding cocoa powder, citrus by incorporating zest and juice, spiced cake with cinnamon and nutmeg, or fruity variations using bananas or berries.
7. What are some tips for storing leftover cake?
Let the cake cool completely before storing. Wrap it tightly in plastic wrap to seal in moisture, or place a frosted cake in an airtight container. You can also freeze slices wrapped in plastic wrap for later enjoyment.
8. What common mistakes should I avoid when baking a cake?
Avoid not measuring ingredients properly, overmixing the batter, ignoring oven temperature, and baking in a cold oven to ensure your cake comes out well.
9. What tools are recommended for easy baking?
Quality mixing bowls, an electric mixer, silicone spatulas, and measuring tools (both dry and liquid) are essential for a smoother baking experience.
10. How can I get creative with my baking?
Once you’re comfortable with the basic recipe, you can substitute ingredients, add mix-ins like chocolate chips or nuts, and experiment with different flavors to create unique cakes.
“`