
Have you ever felt guilty tossing out that sourdough starter discard? Well, it’s time to turn that guilt into something delicious! Flaky sourdough discard pie crust offers a buttery, tangy base that elevates any pie. Read Interesting article: The Easiest Sourdough Bread You’ll Ever Make (Promise)
Understanding Sourdough Discard
What is Sourdough Discard?
Sourdough discard is simply the portion of your sourdough starter that you remove before feeding it. It’s a common practice to maintain the starter’s health and ensure it has enough food (flour and water) to thrive. Instead of throwing it away, I discovered that this discard can be a wonderful ingredient in baking—especially in pie crusts! Utilizing sourdough discard not only reduces waste but also adds a unique flavor to your recipes.
Benefits of Using Sourdough Discard in Baking
In my experience, using sourdough discard in baking has transformed my recipes. The benefits are numerous. First, it offers a slight tang, enhancing the overall flavor of the pie. This tanginess balances out sweetness, making desserts more complex and interesting. I’ve found that it also adds moisture, which helps keep the crust flaky without being overly dense.
Moreover, incorporating sourdough discard can improve the nutritional profile of your baked goods. Sourdough fermentation can enhance the availability of nutrients, making the final product better for you. I appreciate that I can enjoy a treat while also feeling good about my ingredient choices.
How Sourdough Discard Affects Flavor and Texture
When I first started experimenting with sourdough discard, I was amazed at how it could change both flavor and texture. The mild acidity from the discard not only adds depth to your pie crust but helps to create a tender, flaky texture. I remember the first time I baked a pie using this crust—I couldn’t believe how the flavors melded together. The crust was crispy on the outside while still tender inside, and the slight tang complemented the fruit filling beautifully.
The science behind this is fascinating. The fermentation process that occurs in sourdough starters produces lactic acid, which contributes to that wonderful tang. It also breaks down the gluten, allowing for a more tender crumb. Each bite of pie left me craving more. The crust became a conversation starter at gatherings, with friends asking for the recipe. It felt rewarding to share a piece of my culinary journey while reducing waste.
Ingredients for Flaky Sourdough Discard Pie Crust
Essential Ingredients Overview
Creating a flaky sourdough discard pie crust requires just a few essential ingredients. Here’s what you’ll need:
- Sourdough discard
- All-purpose flour
- Unsalted butter
- Salt
- Cold water
Each ingredient plays a crucial role in achieving that perfect texture and flavor.
Types of Flour and Their Impact on Crust Texture
The type of flour I use significantly impacts the texture of the crust. All-purpose flour is my go-to for a good balance between tenderness and structure. However, I’ve also experimented with a mix of whole wheat flour for a nuttier flavor and added nutrients. I found that while it gives a heartier texture, it can be a bit more challenging to roll out. Play around with the proportions to find what works best for you!
Butter vs. Other Fats: What to Use?
When it comes to the fat in my pie crust, I always prefer unsalted butter. The rich, creamy flavor of butter makes such a difference in the overall taste of the crust. I’ve tried using alternatives like shortening or coconut oil, but nothing beats the buttery goodness. Shortening can create a super flaky texture, but it lacks that distinctive flavor that butter provides. My recommendation? Stick with butter for the best results.
Importance of Salt in Pie Crust
Salt is another ingredient that I never overlook. It enhances the flavor of the crust and balances the sweetness of the filling. In my experience, even a small amount of salt can make a noticeable difference. I usually add about 1/2 teaspoon for a single pie crust, which is just enough to elevate the flavors without being overpowering.
Choosing the Right Sourdough Discard
Not all sourdough discard is created equal. I’ve learned that the vitality of the starter can affect the final product. A well-fed starter with lots of bubbles will produce a more flavorful crust. I like to use discard that’s been fed within the last few days for the best results. It’s a great way to utilize what would otherwise go to waste and really enhances the crust’s character.
Step-by-Step Guide to Making Sourdough Discard Pie Crust
Preparation of Ingredients
Before diving into making the pie crust, I like to prepare all my ingredients. It makes the process smoother and more enjoyable. First, I take my well-fed sourdough discard out of the fridge and let it come to room temperature for about 30 minutes. This step is crucial because it helps the discard blend more easily into the dough. I then measure out my all-purpose flour, unsalted butter, salt, and cold water, making sure everything is ready to go. I usually use a kitchen scale for precise measurements, which I find helps achieve consistent results.
Mixing the Dough: Techniques for Flakiness
When it comes time to mix the dough, I start by cutting the cold butter into small cubes. I find that using chilled butter is vital for a flaky crust. In a large mixing bowl, I combine the flour and salt, then add the butter. Here’s where the fun begins! I use a pastry cutter, but I’ve also used my fingers to rub the butter into the flour until it resembles coarse crumbs. I remember the first time I tried this; I loved watching the butter break down, creating little flecks in the flour that promised future flakiness.
Next, I gently fold in the sourdough discard. The key here is to mix just until everything is incorporated. I’ve learned that overmixing can lead to a tough crust, which is not what we want. Once the dough starts to come together, I add a little cold water, one tablespoon at a time, until the dough holds together without being sticky. It’s all about feeling—if it seems too dry, I add a splash more water. I find that trusting my instincts leads to the best results.
Chilling the Dough: Why It Matters
After I’ve mixed the dough, I form it into a disc shape and wrap it in plastic wrap. Chilling the dough is an essential step that I never skip. I usually let it rest in the refrigerator for at least an hour, but if I can, I let it sit for a few hours or even overnight. This resting period allows the gluten to relax, making the dough easier to roll out later. Plus, it enhances the flavor as the sourdough develops further. I often find myself peeking into the fridge, eagerly anticipating the delicious pies to come!
Rolling Out the Crust: Tips for Even Thickness
Once the dough is chilled, it’s time to roll it out. I take it out of the fridge and let it sit at room temperature for about 5 to 10 minutes—this helps soften it slightly. I flour my work surface and my rolling pin to prevent sticking, then I start rolling from the center outwards, turning the dough as I go to keep it circular. I’ve discovered that trying to keep the thickness even is key to an evenly baked crust. I aim for about 1/8-inch thickness, which I’ve found gives the perfect balance between sturdiness and tenderness.
If I notice any cracks forming at the edges, I simply pinch them together with my fingers. I’ll also sprinkle a bit more flour as needed to keep everything manageable. My favorite tip? If the dough starts to stick, I lift it off the surface and add a little flour underneath before rolling again. This way, I can ensure it doesn’t tear, which I’ve learned the hard way!
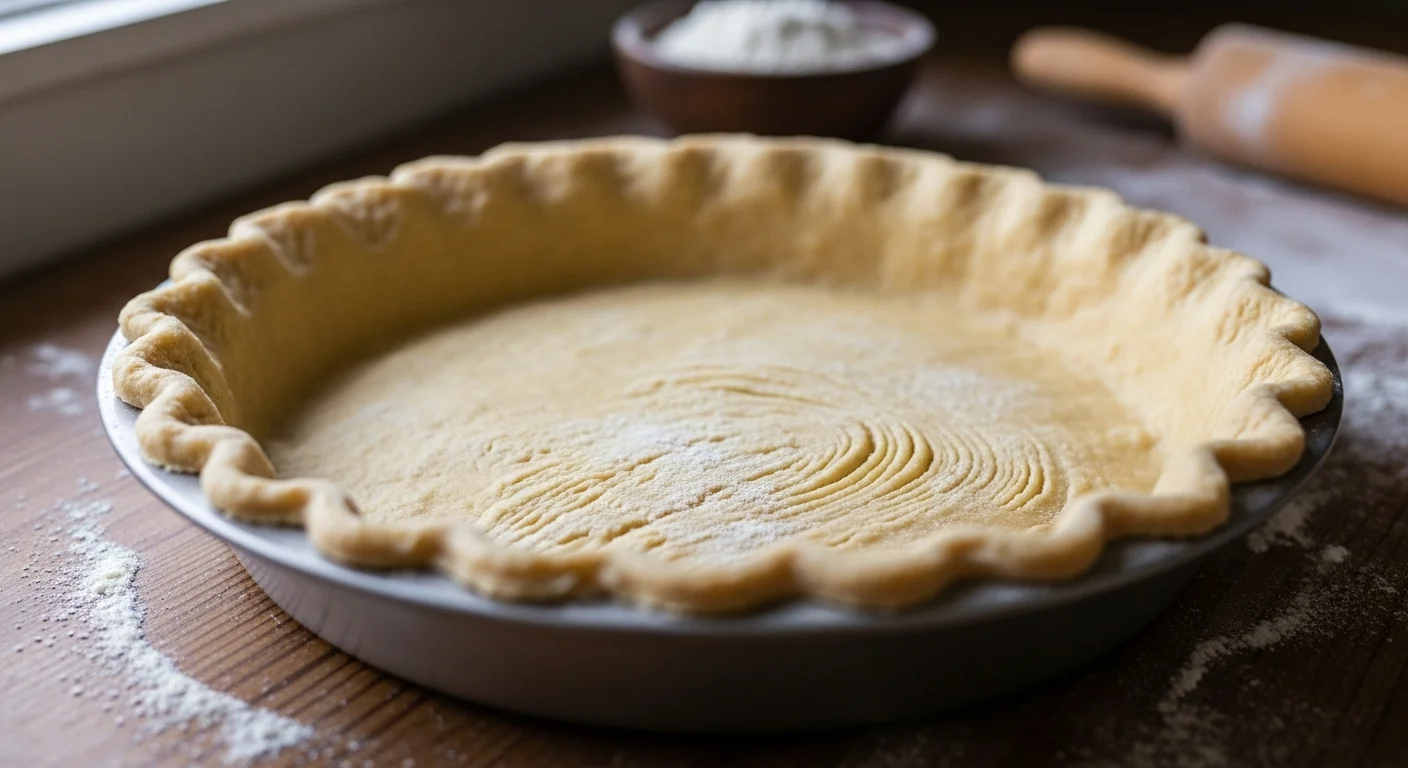
How to Fit the Crust into a Pie Dish
Fitting the rolled-out crust into my pie dish is one of my favorite parts. I gently roll the dough around my rolling pin and then unroll it over the dish. I’m careful to avoid stretching it too much, as that can lead to shrinking during baking. Once it’s in the dish, I gently press the dough into the corners and trim any excess hanging over the edges. I like leaving about an inch of overhang, which gives me enough to create a decorative edge later on. I often find myself excited about how my pies will look once they’re finished!
After that, I usually give the crust a little prick with a fork to prevent air bubbles from forming while it bakes. It’s a simple step that has made a huge difference in my baking results. Now, with the crust ready, I can move on to filling it with my favorite ingredients. Making sourdough discard pie crust has become a cherished part of my baking routine, and I can’t wait to share the next steps in perfecting my pies!
Baking Tips for Perfecting Your Pie Crust
Pre-Baking vs. Baking with Filling
When it comes to baking my pie crust, I’ve learned that deciding whether to pre-bake (or blind bake) the crust can make a big difference in the final outcome. Pre-baking is especially important for custard or cream pies, where the filling doesn’t require much baking time. I remember the first time I skipped this step; my filling ended up soggy, and I was left disappointed. To pre-bake, I simply line the rolled-out crust with parchment paper, fill it with pie weights or dried beans, and pop it in the oven for about 15-20 minutes at 350°F. This ensures the crust sets and gets a head start on that lovely flaky texture before the filling goes in.
For fruit pies or any filling that requires a longer baking time, I usually bake the crust with the filling. In this case, I’ll keep an eye on the crust edges, covering them with foil if they start to brown too quickly. This way, I get to enjoy both a perfectly cooked filling and a beautifully baked crust!
Adjusting Baking Time and Temperature
Over time, I’ve discovered that baking temperatures and times can vary depending on my oven and the recipe I’m using. I’ve found that starting with a higher temperature—around 425°F—can help the crust get that initial rise and flakiness. After about 10 minutes, I’ll usually reduce the temperature to 350°F for the remainder of the baking time. This two-temperature method has worked wonders for me!
Another tip I picked up is to keep a close watch on the pie as it bakes. There’s something magical about seeing that crust turn golden brown. I always set a timer but also check on it a few minutes before the timer goes off. That little bit of vigilance can save a pie from becoming overcooked!
How to Achieve a Golden Brown Finish
A golden brown crust is the holy grail of pie-making, and I’ve learned a couple of tricks to achieve that perfect color. One of my favorite methods is to brush the crust with an egg wash before baking. Just whisk together an egg with a tablespoon of milk or water, and gently brush it over the crust. This gives it that beautiful sheen and helps enhance the color during baking.
I also make sure to rotate my pie halfway through the baking process. I’ve noticed that my oven can have hot spots, and rotating helps ensure even baking. If I’m feeling adventurous, I sometimes even sprinkle a little sugar on top of the crust before baking. The sugar caramelizes and adds a lovely texture and flavor. These little touches have made a big difference in my baked pies!
Common Mistakes to Avoid
Overworking the Dough
One of the biggest lessons I’ve learned while making pie crust is to avoid overworking the dough. It’s so tempting to keep mixing and kneading, especially when I want everything to come together perfectly. However, I’ve found that handling the dough too much can lead to a tough crust instead of the flaky tenderness I’m aiming for. I remember the first time I overmixed; my pie crust turned out dense and chewy. Now, I focus on mixing just until the ingredients are combined and letting the dough do its thing.
Ignoring Temperature Guidelines
Temperature is crucial in pie-making, and I’ve learned the hard way that ignoring guidelines can lead to less-than-stellar results. Whether it’s using cold butter or chilling the dough, these steps are important for achieving that flaky texture. I make it a rule to always keep my ingredients cold, especially the butter and water. If I forget to chill the butter, I’ll simply pop it in the freezer for a few minutes to get it back to the right temperature.
Using Too Much Flour
Another mistake I’ve made is using too much flour while rolling out the dough. I’ve often found myself adding flour to prevent sticking, but too much can make the crust dry. Instead, I’ve learned to use just enough flour to keep it manageable, and if I notice it sticking, I lift it and add a little flour underneath rather than sprinkling it directly on top. This way, I keep the dough’s moisture content intact, which helps maintain that flaky goodness.
Recipe Variations and Customizations
Adding Herbs or Spices for Flavor
As I’ve become more comfortable with making sourdough discard pie crust, I’ve started experimenting with adding herbs or spices to elevate the flavor. For savory pies, I love incorporating fresh herbs like thyme, rosemary, or even a dash of garlic powder. It’s amazing how a little addition can transform a basic crust into something extraordinary!
Sweet vs. Savory Pie Crust Variations
When I’m making sweet pies, I sometimes add a touch of sugar to the crust, which not only enhances the flavor but also adds a slight sweetness that complements fruit fillings. For savory pies, I prefer to keep it simple, focusing on the herbs and spices to bring out the fillings’ flavors. Adjusting the sweetness or savoriness of the crust has been a fun way to customize my pies based on the occasion or the season.
Gluten-Free Options for Sourdough Discard Crust
My journey with sourdough has also led me to explore gluten-free options for those who may have dietary restrictions. I’ve played around with gluten-free flour blends, and while it can be a bit trickier, I’ve found success by using a combination of almond flour and a gluten-free all-purpose flour. It’s crucial to add a binding agent like xanthan gum to help hold everything together. Although the texture is slightly different from traditional crusts, it still holds the same delicious tang from the sourdough discard!
Frequently Asked Questions
What is sourdough discard?
Sourdough discard is the portion of your sourdough starter that you remove before feeding it. It’s a common practice to maintain the starter’s health and can be utilized in baking, especially in pie crusts.
What are the benefits of using sourdough discard in baking?
Using sourdough discard adds a slight tang that enhances the overall flavor of the pie, balances sweetness, and contributes moisture for a flaky crust. It can also improve the nutritional profile of baked goods due to the fermentation process. Read Interesting article: Spicy Sourdough Discard Gingersnaps (A Chewy Cookie)
How does sourdough discard affect flavor and texture?
The mild acidity from sourdough discard adds depth to the crust and helps create a tender, flaky texture. The fermentation process produces lactic acid, which contributes to the tang and breaks down gluten for a more tender crumb.
What ingredients are needed for flaky sourdough discard pie crust?
To make a flaky sourdough discard pie crust, you will need sourdough discard, all-purpose flour, unsalted butter, salt, and cold water.
Why is it important to chill the dough?
Chilling the dough allows the gluten to relax, making it easier to roll out later and enhancing the flavor as the sourdough develops further. It’s recommended to chill it for at least an hour, but longer is preferable.
What techniques can help achieve flakiness in the crust?
Using chilled butter and mixing the dough just until incorporated are key techniques. Overmixing can lead to a tough crust, so it’s important to trust your instincts and mix gently.
When should I pre-bake my pie crust?
Pre-baking is especially important for custard or cream pies where the filling doesn’t require much baking time. It helps the crust set and achieve a flaky texture before adding the filling.
How can I achieve a golden brown finish on my pie crust?
Brushing the crust with an egg wash before baking can enhance color and shine. Rotating the pie halfway through the baking process also helps ensure even baking.
What are common mistakes to avoid when making pie crust?
Common mistakes include overworking the dough, ignoring temperature guidelines, and using too much flour, which can lead to a tough crust or dry texture.
Can I make gluten-free sourdough discard pie crust?
Yes, gluten-free options can be made using gluten-free flour blends, almond flour, and a binding agent like xanthan gum to help hold the crust together while still maintaining the tang from the sourdough discard. Read Interesting article: Can You Make Sourdough Bread With Only Sourdough Discard?