
There’s something magical about the aroma of freshly baked rustic sourdough bread. It’s a delightful blend of crusty exterior and soft, airy interior that beckons you to slice into it. In this guide, we’ll explore how to create your own perfect loaf.
Understanding Rustic Sourdough Bread
What is Rustic Sourdough Bread?
Rustic sourdough bread is more than just a loaf; it’s a labor of love that harks back to ancient baking traditions. It’s made using natural fermentation processes, where wild yeast and bacteria work their magic. Unlike commercial bread, rustic sourdough has a unique tangy flavor, thanks to the lactic acid produced during fermentation. I remember the first time I tasted a slice of freshly baked rustic sourdough; the depth of flavor was unlike anything I had experienced before. It’s a bread that tells a story of patience and craft. For those interested in exploring more about sourdough, check out Fluffy Sourdough Biscuits (A Quick Discard Recipe).
Characteristics of Rustic Sourdough
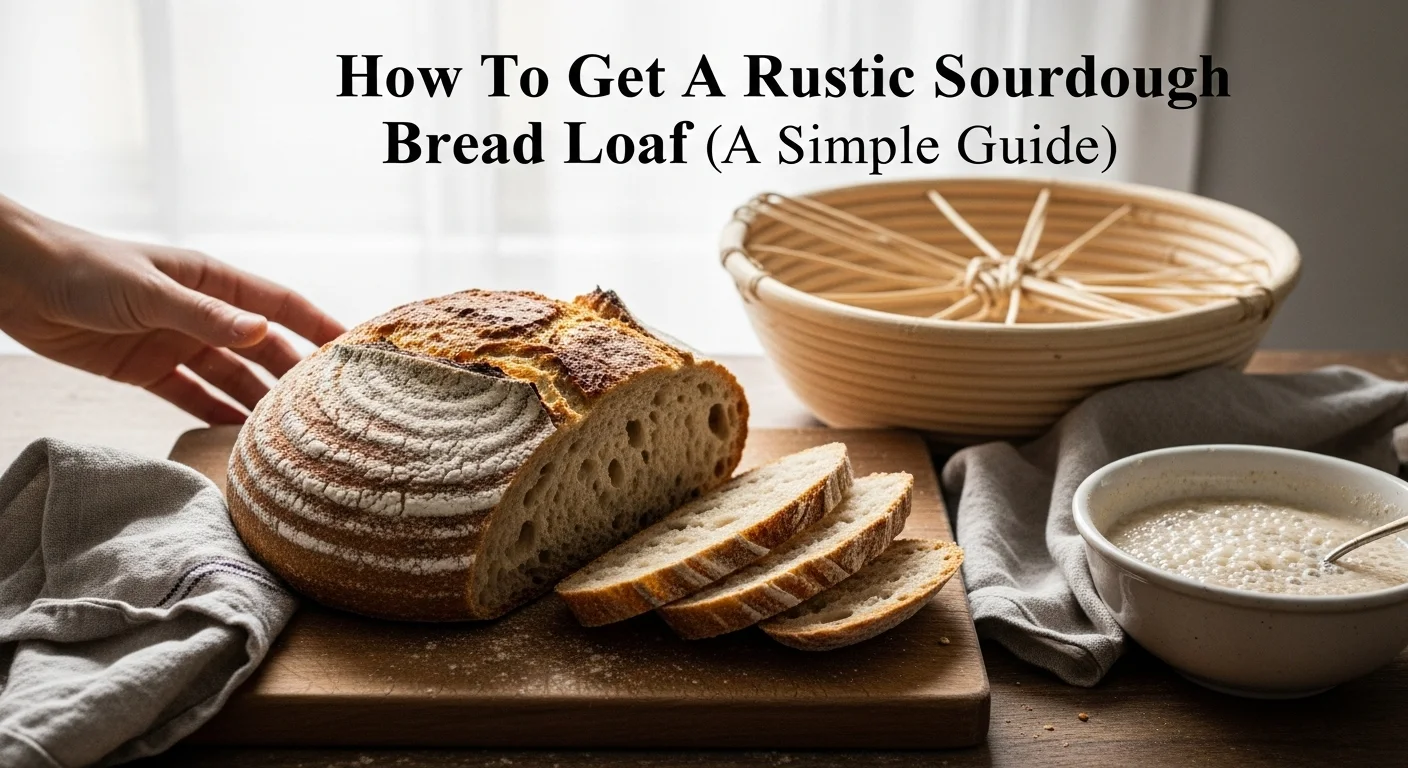
One of the standout features of rustic sourdough bread is its crust. It’s usually thick, crunchy, and deeply caramelized, giving it an artisanal look. The interior, or crumb, is often chewy with large air pockets, which is a result of proper fermentation and shaping techniques. When I first started baking, I struggled with achieving that perfect open crumb, but with practice, I learned the importance of technique and time. The flavor can range from mildly tangy to robustly sour, depending on the fermentation duration and the specific starter used. Rustic sourdough typically uses a mix of whole grain and white flour, adding to its character and flavor profile.
Health Benefits of Sourdough Bread
One of the reasons I fell in love with sourdough is its health benefits. The fermentation process breaks down gluten and phytic acid, making it easier to digest. I’ve noticed that sourdough doesn’t leave me feeling bloated like some other breads do. The natural fermentation also enhances the bread’s nutritional profile, increasing the availability of vitamins and minerals. Plus, it has a lower glycemic index compared to regular bread, which means it can help stabilize blood sugar levels. For me, knowing that I’m enjoying something delicious that’s also good for my body adds to the joy of baking and eating sourdough. You can also discover how to make Easy Sourdough Ciabatta Recipe (An Open, Airy Crumb) for a delightful variation.
Essential Ingredients for Rustic Sourdough Bread
Flour Types: Bread Flour vs. All-Purpose Flour
The choice of flour can dramatically affect the outcome of your rustic sourdough. I’ve experimented with both bread flour and all-purpose flour. Bread flour has a higher protein content, which contributes to better gluten development, leading to a chewier texture. All-purpose flour, while versatile, may not give you that same structural integrity. In my experience, using a combination of both can yield amazing results. It’s all about finding the balance that works for you and your taste preferences.
The Role of Water in Sourdough
Water is often overlooked but plays a crucial role in sourdough bread. It hydrates the flour, activates the yeast, and helps develop gluten. The temperature of the water can also affect fermentation times; warmer water will speed things up, while cooler water can slow them down. I like to use filtered water for my bread to ensure there are no impurities that might interfere with the fermentation process. It’s amazing how something so simple can have such a big impact on the final product.
Understanding Sourdough Starter
Your sourdough starter is the heart of your bread. It’s a living culture made from flour and water that captures wild yeast from the environment. I remember starting my first sourdough starter; it felt like I was nurturing a little pet! The starter is what gives sourdough its characteristic flavor and rise. It takes time to develop, but it’s worth the effort. The more you feed it, the stronger it becomes, and it can last for years with proper care.
Salt: Importance and Types
Salt is more than just a flavor enhancer in sourdough; it plays a vital role in controlling fermentation. It strengthens the gluten structure and helps improve the overall flavor of the bread. I’ve tried various salts, from kosher to sea salt, and I prefer using sea salt for its mineral content and flavor. Just be careful not to add too much, as it can inhibit yeast activity. Balance is key here, and I’ve learned that a little salt goes a long way in elevating the flavor of your rustic sourdough.
Creating Your Sourdough Starter
What is a Sourdough Starter?
A sourdough starter is like the magic potion behind every great loaf of sourdough bread. It’s a mixture of flour and water that ferments over time, capturing wild yeast and bacteria from the environment. I find it fascinating how this simple blend transforms into a bubbling, active culture that can raise dough and add that distinct flavor we all love. When I first learned about sourdough starters, I felt a rush of excitement knowing that I could create something so alive and flavorful from scratch. It’s an incredible process that connects us to an age-old baking tradition.
How to Make Your Own Sourdough Starter
Getting started with your own sourdough starter is a rewarding experience. I remember the first time I decided to create one; I followed a simple method that worked beautifully. Start with equal parts of flour and water, typically about 100 grams of each. I usually opt for whole wheat flour because it tends to ferment faster due to the higher nutrient content. Mix them in a clean jar, cover it loosely with a cloth, and let it sit at room temperature. Each day, I would feed it with the same ratio of flour and water, stirring it well. I was amazed to see bubbles forming within a few days, signaling that wild yeast was at work. It usually takes about 5 to 7 days for the starter to become fully active, but the wait is worth every moment!
Maintaining and Feeding Your Starter
Once your starter is bubbling and active, maintenance becomes a part of your routine. I’ve learned that feeding it regularly is crucial to keeping it healthy. I usually feed mine once every 24 hours if it’s kept at room temperature. However, if you’re not planning to bake daily, you can store it in the refrigerator and feed it once a week. When I want to bring it back to life, I take it out, give it a good feed, and let it sit at room temperature for a few hours until it’s bubbly again. It’s almost like nurturing a little pet, and I enjoy the connection I have with it. I always keep some of my starter when baking; it feels like I’m passing down a little piece of my culinary journey.
The Sourdough Bread Making Process
Mixing Ingredients: Step-by-Step Guide
Now that you have your active sourdough starter, it’s time to mix the ingredients for your bread. I love this part because it’s where the magic begins. First, I measure out my flour, water, and salt. I usually use around 500 grams of flour, 350 grams of water, and 10 grams of salt. I mix the flour, water, and starter together until just combined. It’s a bit messy, but that’s part of the fun! I let it rest for about 30 minutes during a process called autolyse, which helps develop the gluten and makes the dough easier to handle.
Autolyse: Why It Matters
Autolyse is a game-changer in bread-making. During this phase, the flour and water hydrate, and enzymes start breaking down the flour, which enhances gluten development. I’ve noticed that allowing this rest period improves the texture of my bread significantly. After 30 minutes, I add the salt and mix it in well. The dough will feel sticky at first, but as you knead it, it becomes smoother and more elastic. This step is critical in achieving that perfect structure that rustic sourdough is known for.
Bulk Fermentation: What to Expect
Bulk fermentation is where the dough really starts to rise and develop flavor. I typically let my dough rise for about 4 to 6 hours at room temperature. During this time, I perform a series of stretch and folds every 30 minutes to help strengthen the gluten. I find it fascinating to watch the dough transform; it becomes lighter and more aerated as the wild yeast does its work. The aroma that fills my kitchen during this time is just heavenly! You know your dough is ready when it has increased in size and feels airy to the touch.
Shaping the Dough: Techniques and Tips
Once bulk fermentation is complete, it’s time to shape the dough. This is one of my favorite moments because it feels like I’m molding something special. I gently turn the dough out onto a floured surface and shape it into a round loaf. I’ve learned to be gentle here, as I don’t want to deflate all the air pockets I just developed. After shaping, I place the loaf into a floured banneton (a proofing basket) to rise again. The shaping technique can vary, but I’ve found that tucking the edges toward the center helps create a nice tight surface, which leads to a better rise in the oven.
Proofing: How to Know When It’s Ready
Proofing is the final step before baking, and it’s crucial to get it right. I’ve made the mistake of underproofing and overproofing in the past, so I’ve learned to look for specific signs. Typically, I let my loaf proof for about 1 to 2 hours at room temperature, or I place it in the refrigerator overnight for a slower fermentation. The dough should have puffed up slightly and feel soft and pillowy to the touch. I often do the poke test: I gently poke the dough with my finger, and if it springs back slowly, it’s ready to bake. This part can be a bit nerve-wracking, but with practice, I’ve gotten better at reading my dough.
Baking Your Rustic Sourdough Bread
Preparing Your Oven: Temperature and Equipment
Baking sourdough bread is just as important as the preparation and fermentation process. I’ve learned that getting the oven ready is key to achieving that perfect crust and crumb. Preheating the oven to around 450°F (232°C) is what I usually aim for, and I let it heat up for at least 30 minutes before placing my bread inside. This gives the oven ample time to reach the right temperature and ensures that the heat is evenly distributed. I also like to use a baking stone if I have one; it helps retain heat and gives the bread a great crust. If you don’t have a stone, a heavy baking sheet turned upside down works just as well. Preparing your oven properly sets the stage for the magic of baking to unfold.
Using a Dutch Oven for Perfect Crust
One of my favorite techniques for baking rustic sourdough is using a Dutch oven. It creates a steamy environment that mimics professional steam ovens, allowing the bread to rise beautifully while developing that crunchy crust we all love. When I place my shaped dough into the preheated Dutch oven, I’m always filled with excitement—there’s something about that sizzle when dough meets the hot pot that signifies good things to come. I usually bake with the lid on for the first 30 minutes to trap steam, then remove the lid for the last 15 minutes to brown the crust. This method has consistently given me a gorgeous, golden-brown loaf that I can’t wait to slice into.
Scoring: Techniques for Best Results
Scoring the dough before baking is not just for aesthetics; it’s crucial for controlling how the bread expands in the oven. I always use a sharp razor blade or a lame for this step. With a steady hand, I make a few slashes across the top of the loaf, creating designs that allow steam to escape and give the bread its signature look. I remember when I first started scoring my bread—it was a bit nerve-wracking, but the results were so rewarding! Not only does scoring help with oven spring, but it also adds a personal touch to each loaf. Experimenting with different patterns has become one of my favorite parts of the process.
Cooling the Bread: Why It’s Important
After pulling my loaf from the oven, there’s a tempting urge to slice into it immediately, but I’ve learned that patience is key. Letting the bread cool for at least an hour on a wire rack is essential. This cooling process allows the crumb to set and enhances the flavor. I often find myself tapping on the bottom of the loaf to check for that hollow sound—it’s a satisfying way to ensure I’ve baked it just right. The aroma that fills my kitchen during this time is nothing short of heavenly. When I finally slice into it, I can’t help but admire the beautiful crust and airy crumb. Trust me, this wait is worth it!
Common Mistakes to Avoid When Making Sourdough
Underproofing vs. Overproofing
One of the most common challenges I faced while mastering sourdough was getting the proofing just right. Underproofing can lead to a dense loaf, while overproofing may result in a collapsed bread. I remember when I first started baking, I was so eager to see my dough rise that I would rush the proofing process. It’s essential to trust your instincts and the signs your dough gives you. A well-proofed loaf should feel airy and slightly puffy. If you poke it and it springs back slowly, you’re in a good spot. I’ve learned to embrace the process and be patient; the right proofing can make all the difference in the final product.
Using the Wrong Flour
The flour you choose can significantly impact your sourdough’s flavor, texture, and structure. I’ve made the mistake of using only all-purpose flour, which didn’t give me the chewiness I was craving. Each flour type has its own characteristics, so it’s worth experimenting with blends until you find what you love. I often mix whole wheat or rye flour with bread flour to add complexity to the flavor. It’s all about understanding how each type of flour interacts with water and yeast, and I’ve found that keeping a variety on hand allows me to be creative in my baking.
Ignoring Temperature Control
Temperature plays a significant role in sourdough baking. I remember a few times when my kitchen was too cold, and my dough just wouldn’t rise. I’ve learned that the ideal temperature for fermentation is around 75°F to 80°F (24°C to 27°C). If my environment is chilly, I’ve found that placing my dough in a slightly warmer spot, like an oven with just the light on, can help. Conversely, if it’s too warm, I try to cool my environment down a bit to prevent the yeast from working too quickly. Understanding and controlling temperature has really helped me achieve consistent results.
Storing and Enjoying Your Rustic Sourdough Bread
How to Properly Store Sourdough Bread
After all that hard work, it’s important to store your bread correctly to maintain its freshness. I’ve found that wrapping the loaf in a clean kitchen towel and placing it in a bread box or a paper bag works best. This method allows the bread to breathe without getting too stale. If I know we won’t finish it within a couple of days, I slice the leftover bread and freeze it in a sealed bag. When I’m ready to enjoy it again, I simply toast the slices, and they taste almost as good as fresh!
Best Ways to Use Leftover Sourdough
Getting creative with leftover sourdough is one of my favorite parts of baking! I’ve transformed stale bread into delicious croutons, or I use it to make a savory bread pudding. A classic choice is making French toast, where the bread soaks up the egg mixture beautifully, enhancing its flavor. Bread can be a great base for so many dishes, and I’ve learned that no part of my sourdough should go to waste. It’s rewarding to find new ways to enjoy the fruits of our labor! I recently discovered that This Air Fryer Garlic Bread Hack Is Everywhere for a Reason.
Pairing Suggestions: What to Serve with Sourdough
Rustic sourdough bread pairs wonderfully with numerous dishes. I love enjoying a warm slice with a pat of butter and a sprinkle of sea salt for a simple treat. For a more indulgent experience, I often serve it alongside homemade soups or stews—there’s nothing like dipping a piece of crusty bread into a hearty bowl of chili. I’ve also experimented with various toppings—avocado, smoked salmon, or even a generous spread of my favorite jam. The possibilities are endless, and every meal feels special with a slice of sourdough on the side.
Frequently Asked Questions About Rustic Sourdough Bread
Can I use store-bought starter?
Absolutely! If you’re just starting out, a store-bought sourdough starter can be a great way to dive into baking without the wait. I’ve used both homemade and store-bought starters, and each has its charm. Just remember to feed and care for it as you would your own starter!
How long does it take to make a loaf?
The time it takes to make a loaf of sourdough can vary, but typically it involves several hours of fermentation and proofing, plus the time needed to make your starter. I usually set aside a full day for the entire process, but it’s well worth the effort!
What can I do if my bread doesn’t rise?
If your bread isn’t rising, it could be due to an inactive starter or improper proofing conditions. I recommend checking the strength of your starter and ensuring it’s bubbly and active. Also, make sure your dough is in a warm, draft-free area during proofing.
How do I know if my sourdough is done baking?
When my bread is baking, I look for a beautiful golden-brown crust. I also tap the bottom of the loaf; if it sounds hollow, it’s likely done. It’s always an exciting moment when I pull the loaf out of the oven and get to admire my creation!
Final Thoughts
Baking rustic sourdough bread has been a journey filled with discovery and joy. I’ve learned so much along the way—from nurturing my starter to mastering the perfect crust and crumb. It’s more than just making bread; it’s a process that connects me to tradition, creativity, and the simple pleasure of sharing delicious food with loved ones. Whether you’re a seasoned baker or just starting, I encourage you to embrace the process and enjoy every moment. Remember, every loaf tells a story, and I can’t wait for you to create yours!
Frequently Asked Questions
What is Rustic Sourdough Bread?
Rustic sourdough bread is a labor of love made using natural fermentation processes involving wild yeast and bacteria. It has a unique tangy flavor due to lactic acid produced during fermentation and is characterized by a thick, crunchy crust and a chewy interior with large air pockets.
What are the health benefits of sourdough bread?
Sourdough bread is easier to digest because the fermentation process breaks down gluten and phytic acid. It enhances the nutritional profile of the bread, increases the availability of vitamins and minerals, and has a lower glycemic index compared to regular bread, helping stabilize blood sugar levels.
How do I create my own sourdough starter?
To create a sourdough starter, mix equal parts of flour and water (about 100 grams each) in a clean jar. Cover it loosely with a cloth and let it sit at room temperature, feeding it daily with the same ratio of flour and water. It usually takes about 5 to 7 days for the starter to become fully active.
What is the significance of the autolyse process?
Autolyse is crucial as it hydrates the flour and allows enzymes to break down the flour, enhancing gluten development. This period improves the dough’s texture, making it easier to handle and resulting in a better final product.
How can I tell when my dough is ready to bake?
To check if your dough is ready to bake, look for it to have puffed up slightly and feel soft and pillowy. The poke test can also help; if you poke the dough and it springs back slowly, it’s ready to bake.
What is the best way to bake rustic sourdough?
Preheat your oven to around 450°F (232°C) for at least 30 minutes. Using a Dutch oven can create a steamy environment for a better rise and crust. Bake with the lid on for the first 30 minutes, then remove it for the last 15 minutes to achieve a golden-brown crust.
How should I store my sourdough bread?
Wrap the loaf in a clean kitchen towel and place it in a bread box or paper bag to maintain freshness. For longer storage, slice the leftover bread and freeze it in a sealed bag. Toasting frozen slices can bring back the freshness.
What are some common mistakes to avoid when making sourdough?
Common mistakes include underproofing or overproofing the dough, using the wrong type of flour, and ignoring temperature control, which can affect fermentation. Understanding and addressing these factors can lead to better results in your sourdough baking.
Can I use a store-bought sourdough starter?
Yes, a store-bought sourdough starter can be a great option for beginners. Just remember to feed and care for it as you would a homemade starter to ensure it remains active.
What can I do with leftover sourdough?
Leftover sourdough can be transformed into croutons, savory bread pudding, or French toast. It’s a versatile ingredient that can enhance many dishes, ensuring that no part of your sourdough goes to waste.