
There’s something magical about biting into a chewy sourdough bagel, right? The balance of flavors and textures makes them irresistible, and making them at home can be a rewarding experience!
Understanding Sourdough Bagels
When I first tried making sourdough bagels, I was amazed by how different they were from the regular bagels I grew up with. The texture, the flavor, and that delightful chewiness made me realize there is so much to appreciate about them. Let’s dive deeper into what makes sourdough bagels so special.
What Makes Bagels Chewy?
The chewiness of bagels is one of their most defining traits. It primarily comes from the type of flour used and the way the dough is prepared. When I started experimenting with bagel recipes, I learned that high-protein bread flour is key. This flour has more gluten, which helps create that wonderful chewy texture we all love. I remember the first batch I made with all-purpose flour—it just didn’t have the same satisfying bite!
Another factor influencing the chewiness is the boiling process. Boiling the bagels before baking creates a crust that seals in moisture while adding to that chewy texture. I was surprised by how much a simple step like this can transform the final product.
The Role of Sourdough in Bagels
Sourdough not only adds a unique tangy flavor but also improves the texture of bagels. The natural fermentation process breaks down the gluten, making the dough easier to handle while contributing to that sublime chewiness. I started using my homemade sourdough starter, and the flavors were so much richer compared to using commercial yeast! It was like a whole new world of bagels opened up for me.
Moreover, the long fermentation time associated with sourdough helps develop complex flavors. I’ve noticed that allowing my dough to ferment overnight really enhances the taste, making the bagels more delicious. It’s a bit of a waiting game, but trust me, it’s worth it!
Ingredients Overview
To make the best sourdough bagels, it’s crucial to pay attention to the ingredients you use. Each component plays a vital role in the final product, and here’s what you need to know:
Flour Types
As I mentioned earlier, high-protein bread flour is the go-to for bagels. It helps achieve that essential chewiness. I’ve played around with different types of flour, but sticking to bread flour has given me the best results. If you’re feeling adventurous, you can try a mix of bread flour and whole wheat flour for a nuttier flavor.
Water Quality
Water might seem like a simple ingredient, but its quality matters. I’ve learned that filtered water works best. Tap water, depending on where you live, can contain chlorine or other substances that might hinder yeast activity. Using filtered water ensures that your dough rises beautifully!
Sourdough Starter
Your sourdough starter is the heart of this recipe. I’ve found that a mature, bubbly starter yields the best results. If your starter is healthy and active, it will help your bagels rise and develop fantastic flavor. If you’re unsure, give it a feeding and let it sit at room temperature for a few hours before you start baking. It’s a little extra work, but it’s so rewarding!
Salt and Sweeteners
Salt is essential for flavor and also helps with gluten development. I usually go for a fine sea salt to mix easily into the dough. As for sweeteners, a touch of sugar or malt syrup can enhance the flavor. The first time I added malt syrup, I noticed a lovely depth in flavor that made my bagels taste like they came from a bakery. It’s a small addition with a big impact!
With these ingredients in mind, we can start preparing for the exciting process of making chewy sourdough bagels. Every step brings you closer to those delightful, chewy treats that are perfect for breakfast or a snack. Next up, let’s discuss the essential tools you’ll need to make this adventure smoother and more enjoyable!
Essential Tools for Making Sourdough Bagels
Getting into sourdough bagel-making has been such a rewarding journey for me. But I quickly realized that having the right tools can make all the difference in the world. Here’s a rundown of the essential tools that I believe everyone should have in their kitchen when embarking on this delicious adventure.
Mixing and Kneading Equipment
First and foremost, a reliable mixing bowl is a must. I prefer using a large glass or stainless-steel bowl because they’re easy to clean and durable. When I started, I used a plastic bowl, but I found that it sometimes retained odors and stains from previous ingredients. Along with a mixing bowl, a sturdy wooden spoon or a dough whisk can help combine everything efficiently. I’ve found the dough whisk particularly handy; it really integrates the ingredients without overworking them.
When it comes to kneading, I used to think my hands were enough. However, a silicone or bench scraper has become one of my favorite tools. It helps me manage and fold the dough without sticking, and it’s perfect for cutting portions when shaping the bagels. If you’re looking for something more hands-on, a stand mixer with a dough hook can save you effort and time. I remember the first time I used one—it felt like a game changer!
Shaping Tools
As I began shaping my bagels, I discovered that a simple baking sheet lined with parchment paper is invaluable. It prevents sticking and makes transferring the bagels to the pot for boiling much easier. Additionally, having a small bowl of water on hand helps with shaping; I dip my fingers in it to keep the dough from sticking to my hands. If you want to get creative, a kitchen scale can help you portion out your dough evenly, ensuring that each bagel is about the same size.
Some people also use a bagel-doughnut cutter, which can give you that perfect bagel shape, but I’ve found that my hands work just fine. It’s all about what feels comfortable for you!
Boiling Equipment
Boiling is such a crucial step in making bagels, and having the right equipment is essential. I use a large pot filled with water for boiling. The depth of the pot is important; it should be deep enough to allow the bagels to float freely. Adding a splash of malt syrup or baking soda to the water not only helps with achieving that shiny crust but also adds to the flavor. I remember my first attempt when I forgot this step; my bagels were tasty, but they lacked that beautiful sheen.
Having a slotted spoon or a spider strainer makes it so much easier to remove the bagels from the boiling water without losing them in the process. I can’t tell you how many times I’ve used my slotted spoon while trying to navigate the boiling chaos!
Baking Accessories
Finally, let’s talk about baking! A good baking sheet or pizza stone is essential. I’ve experimented with both, and while a pizza stone gives a nice crust, a baking sheet is great for making multiple bagels at once. Also, preheating your oven is key. I usually set mine to the highest setting (450°F) to get that crispy crust we all love.
Lastly, don’t forget about parchment paper and an egg wash brush if you plan to top your bagels with seeds or glaze them for a beautiful finish. The first time I used an egg wash, I was blown away by how much of a difference it made in the appearance of my bagels. They looked like they came straight from a bakery!
With all these tools gathered and ready, we’re on the brink of diving into the step-by-step process of making those delicious, chewy sourdough bagels. Trust me, the effort and preparation will be worth it when you take that first bite of your homemade creation!
Step-by-Step Guide to Making Chewy Sourdough Bagels
Step 1: Preparing the Dough
Mixing Ingredients
Now comes the fun part—mixing all those wonderful ingredients together! I typically start by measuring out my flour, water, and sourdough starter. I find that having everything pre-measured makes the process smoother and less stressful. When I first started, I used to eyeball the measurements, but trust me, precision really does make a difference!
In a large mixing bowl, I combine the flour and salt first. I like to mix them together with a whisk to ensure even distribution. Then, I add my bubbly sourdough starter and filtered water. I usually add the water gradually, mixing with my dough whisk until I see that all the flour is incorporated. It’s a bit messy, but I love getting my hands in there—feeling the dough come together is so satisfying!
Kneading the Dough
Once everything is mixed, it’s time to knead the dough. I’ve learned that kneading is where the magic happens, as it develops the gluten structure that gives bagels their chewy texture. I use my silicone scraper to turn the dough out onto a clean, floured surface. At this stage, I like to sprinkle a little extra flour on my hands to prevent sticking.
I knead the dough for about 8 to 10 minutes, until it becomes smooth and elastic. I always keep an eye on the texture; it should spring back when poked. I remember the first time I over-kneaded my dough—it turned out tough instead of chewy! So, it’s all about finding that sweet spot.
Step 2: Fermentation Process
Bulk Fermentation
After kneading, I place the dough back into my mixing bowl and cover it with a damp cloth. This is when bulk fermentation happens, and it’s crucial for flavor development. I usually let it sit at room temperature for about 4 to 6 hours, or until it has doubled in size. During this time, I like to keep an eye on it. It’s fascinating to watch how the dough transforms! Sometimes, I even take a little peek every hour to see how it’s rising.
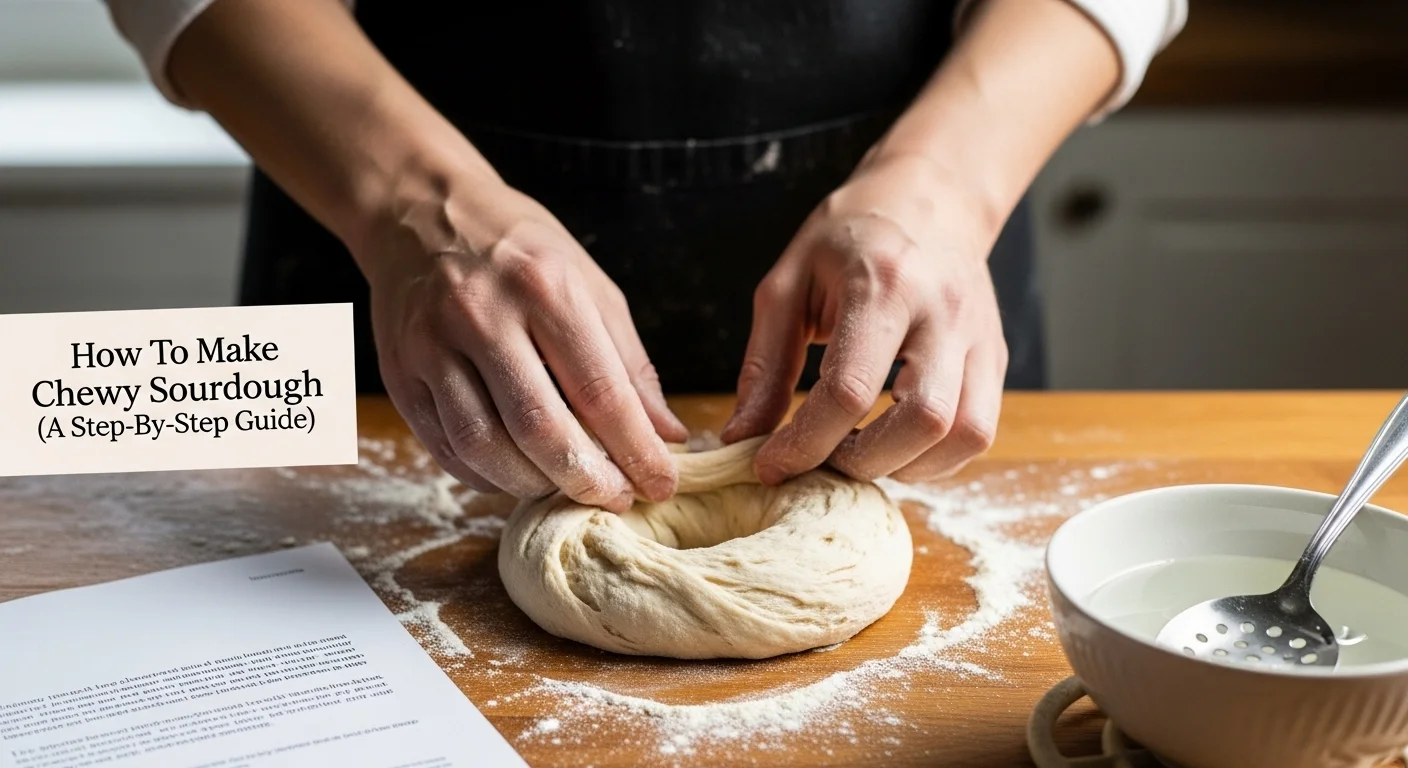
Shaping the Bagels
Once the dough has risen beautifully, it’s time to shape the bagels. I punch down the dough gently to release some of the gas, then divide it into equal portions—about 8 to 10 pieces. I find this part really fun! I roll each piece into a ball and then, using my finger, create a hole in the center to form the classic bagel shape. I remember my first attempts were a bit lopsided, but practice makes perfect!
Step 3: Proofing the Bagels
Cold vs. Warm Proofing
After shaping, I place the bagels on a parchment-lined baking sheet and cover them with a damp cloth. At this point, I have a choice to make: warm proof them for about 30 minutes or cold proof them in the fridge overnight. I tend to prefer cold proofing because it allows for a deeper flavor. I’ve learned that longer fermentation times really enhance the taste. Plus, it’s great to wake up to freshly made bagels!
Step 4: Boiling the Bagels
Why Boil Bagels?
Boiling is a key step that sets bagels apart from other breads. It creates that signature chewy texture and shiny crust. I get my large pot of water boiling and add a bit of malt syrup or baking soda to the water. I can still recall the first time I boiled my bagels without any additions—it was a missed opportunity for that shiny finish!
Boiling Techniques
When the water is at a rolling boil, I carefully add a few bagels at a time. I’ve learned to be gentle here; dropping them in too quickly can cause splashes. Each bagel usually boils for about 30 seconds on each side. I love using my slotted spoon to flip them. It’s always exciting to see them puff up as they cook! After boiling, I let them drain for a moment before moving them back to the baking sheet.
Step 5: Baking the Bagels
Oven Temperature and Timing
The final step is baking these beauties! I preheat my oven to 450°F, which is essential for that perfect crust. Once the oven is ready, I pop the bagels in for about 20 to 25 minutes. The aroma that fills my kitchen during this time is heavenly! I usually set a timer, but I can’t help peeking through the oven door to watch them rise and brown.
Toppings and Glazes
Before they go in the oven, I love to brush my bagels with an egg wash for a glossy finish. Then comes the fun part—sprinkling on my favorite toppings! From sesame seeds to everything bagel seasoning, the options are endless. I’ve experimented with different toppings, and I have to say, each brings a unique flair to the final product. I remember the first time I topped my bagels with everything seasoning; it felt like a game changer!
With these steps complete, I can assure you that the journey of making sourdough bagels is incredibly rewarding. There’s nothing quite like enjoying a warm, homemade bagel fresh from the oven. The hard work truly pays off when you take that first delightful bite!
Troubleshooting Common Issues
Dough Too Sticky or Dry
Every baker has been there—standing in the kitchen, staring at a bowl of dough that just doesn’t seem right. I’ve had my fair share of sticky and dry dough moments, and I learned that a few adjustments can make all the difference. If your dough is too sticky, it often means you need to add a bit more flour. But be careful! It’s easy to go overboard. I typically sprinkle in flour, a tablespoon at a time, until I get that lovely, manageable consistency. On the flip side, if your dough feels too dry, a little water can help. I’ve found that adding just a teaspoon at a time and mixing it in with my hands can revive a rough dough. Finding that perfect balance is part of the fun, even if it takes a few tries!
Bagels Not Chewy Enough
If you’ve baked a batch of sourdough bagels only to find they lack that delightful chewiness, don’t fret—it’s fixable! One common reason for this is under-kneading. I remember my first attempts when I was too gentle, thinking I’d ruin the dough. Kneading develops gluten, which is crucial for that chewy texture. Make sure you’re kneading for a solid 8 to 10 minutes. Additionally, be cautious with your boiling time. If you under-boil them, they might not get that crust that contributes to chewiness. I recommend boiling for a full minute on each side for that perfect texture!
Bagels Not Rising Properly
Watching your bagels puff up during proofing should be a rewarding experience, but sometimes they don’t rise as expected. This could be due to an inactive sourdough starter, so checking its bubbly texture before using it is essential. I’ve learned the hard way that if my starter isn’t lively, my dough won’t be either. Another tip is to ensure you’re keeping your dough in a warm, draft-free area during proofing. I like to place mine in an oven turned off but with the light on—just enough warmth to encourage rising!
Variations and Flavor Enhancements
Adding Seeds and Toppings
The great thing about sourdough bagels is how versatile they can be. I love experimenting with different toppings! From sesame seeds to poppy seeds, each adds its own unique flavor. My favorite is the everything bagel seasoning—it’s a delightful blend that elevates the taste. When I sprinkle my toppings, I like to do it right after the egg wash. This helps them stick better and ensures every bite is packed with flavor. You could also try a sprinkle of garlic or onion flakes for a savory kick!
Infusing Flavors into the Dough
If you want to take your bagels to the next level, consider infusing flavors directly into the dough. I’ve experimented with adding herbs like rosemary or spices such as cinnamon. One of my favorite combinations was adding dried herbs and garlic powder for a savory bagel. It’s a fun way to add a personal touch to your bagels, and the aroma while baking is simply divine! Just be mindful of how much you add; a little goes a long way.
Alternative Shapes and Sizes
Who says bagels have to be round? I’ve played around with different shapes and sizes, and it’s a fantastic way to get creative. You could make mini bagels for a fun snack or even shape them into twists for something different. I remember the first time I tried a braided bagel; it was a hit at brunch! It’s all about having fun with the process and making it your own.
Storage and Serving Suggestions
How to Store Fresh Bagels
Once you’ve made your delicious bagels, you’ll want to make sure they stay fresh! I usually let them cool completely before placing them in a paper bag. This keeps them from getting soggy. If I know I won’t eat them within a day or two, I freeze them. I wrap each bagel tightly in plastic wrap before popping them into a freezer bag. It’s always nice to have a stash of homemade bagels ready to go!
Best Ways to Reheat Bagels
When you’re ready to enjoy those bagels, reheating them properly is key. I often pop them in the toaster for a crispy finish, which works wonders. If I’m in the mood for a softer bagel, I’ll wrap it in a damp paper towel and microwave it for about 15 seconds. I’ve found this method keeps them soft and delicious without drying them out.
Serving Ideas and Pairings
The best part about bagels is how versatile they are for meals throughout the day. For breakfast, I love pairing my bagel with cream cheese and fresh smoked salmon. It’s a classic combo that never disappoints! For lunch, I’ve been known to make a bagel sandwich with turkey and avocado—so satisfying! And let’s not forget about dessert; a warm bagel with cinnamon sugar and a drizzle of honey is a delightful treat. The possibilities are endless!
Final Thoughts
Making sourdough bagels has been a journey filled with experimentation and joy. I’ve learned so much along the way, from understanding the importance of fermentation to mastering the boiling technique. There’s something incredibly rewarding about biting into a bagel you’ve made from scratch, knowing that every step was taken with care and enthusiasm. I hope you feel inspired to embark on your own bagel-making adventure. Trust me, the satisfaction of sharing these homemade delights with friends and family is worth every minute spent in the kitchen. So, roll up your sleeves, gather your ingredients, and let’s create some magic together! Read Interesting article: 5 Grilling Recipes That Will Wow Dad on Father’s Day
Frequently Asked Questions
What type of flour is best for making sourdough bagels?
High-protein bread flour is the go-to for making sourdough bagels. It helps achieve the essential chewy texture that bagels are known for.
Why is boiling an important step in making bagels?
Boiling bagels is crucial because it creates their signature chewy texture and shiny crust. It helps seal in moisture while adding to the overall texture of the bagels.
How does sourdough improve the flavor and texture of bagels?
Sourdough adds a unique tangy flavor and improves the texture of bagels. The natural fermentation process breaks down gluten, making the dough easier to handle and contributing to a delightful chewiness.
What should I do if my dough is too sticky?
If your dough is too sticky, you may need to add a bit more flour. Sprinkle in flour, a tablespoon at a time, until you achieve a manageable consistency.
What is the benefit of using filtered water in the dough?
Using filtered water ensures that your dough rises beautifully, as tap water may contain chlorine or other substances that can hinder yeast activity.
Can I use an alternative to a stand mixer for kneading dough?
Yes, you can use your hands for kneading or a silicone/bench scraper to manage and fold the dough. A stand mixer with a dough hook can save time and effort, but it’s not necessary.
What toppings are recommended for sourdough bagels?
You can experiment with various toppings such as sesame seeds, poppy seeds, or everything bagel seasoning. These toppings add unique flavors to your bagels.
How should I store fresh bagels to keep them from getting soggy?
Let the bagels cool completely before placing them in a paper bag. For longer storage, wrap each bagel tightly in plastic wrap and freeze them in a freezer bag.
What is the best way to reheat bagels?
The best way to reheat bagels is to pop them in the toaster for a crispy finish. Alternatively, you can wrap them in a damp paper towel and microwave for about 15 seconds for a softer texture.
What should I do if my bagels are not rising properly?
If your bagels are not rising properly, check if your sourdough starter is active. Ensure you’re keeping the dough in a warm, draft-free area during proofing for the best results.
Read Interesting article: Easy Vegan Biscotti (Perfectly Crunchy For Dunking)
Read Interesting article: How to make traditional French curry