1. Gather Your Ingredients
Before diving in, make sure you have everything at arm’s reach. A well-stocked kitchen means smooth sailing through the rest of the process.What You’ll Need
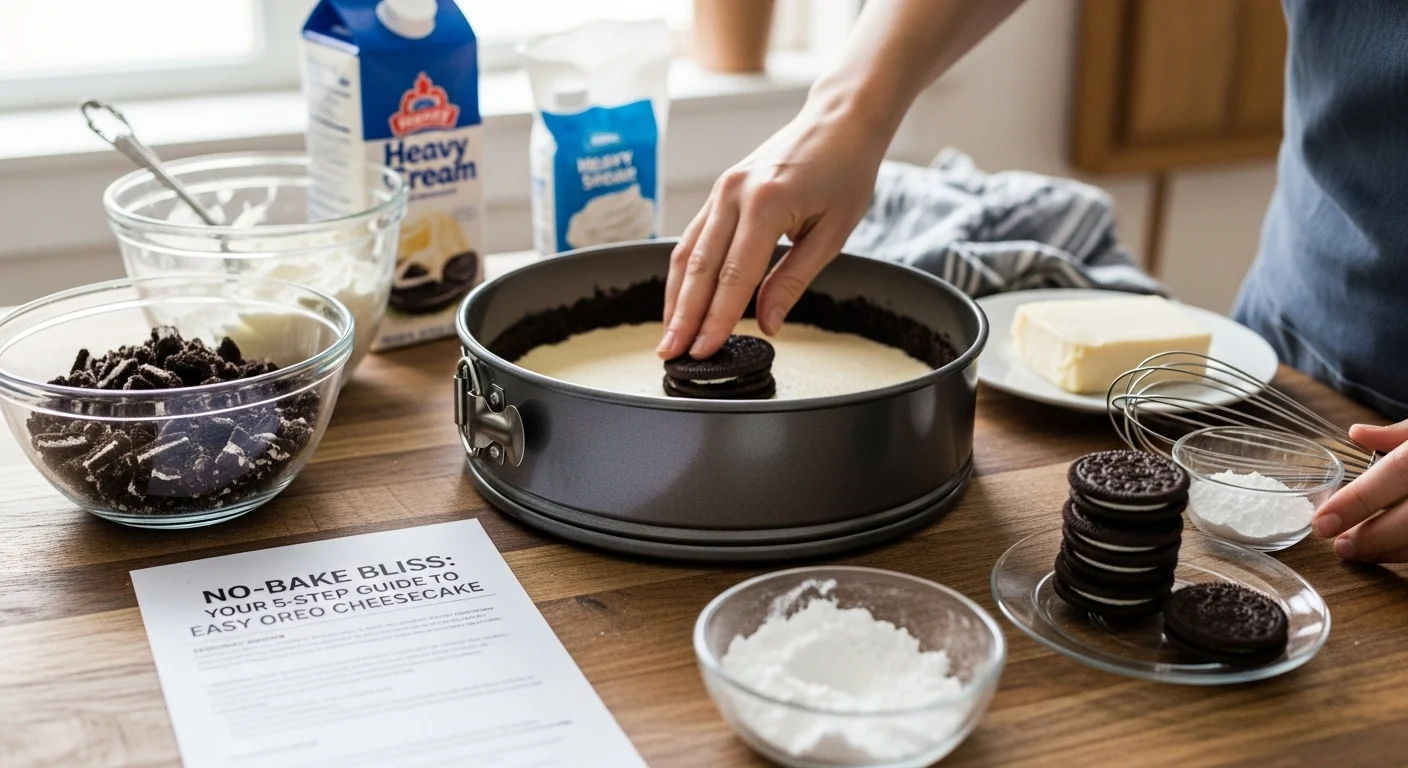
– 24 Oreo cookies (about 1½ cups crushed) – 5 tablespoons unsalted butter, melted – 16 ounces (2 packages) cream cheese, softened – ⅔ cup granulated sugar – 1 teaspoon vanilla extract – 1 cup heavy whipping cream, cold – Optional: extra Oreo pieces for garnish2. Prepare the Crust
A sturdy, flavorful crust is the foundation of any great cheesecake. No oven? No problem!Crushing the Oreos
Place the cookies (including filling) in a sealable plastic bag. Use a rolling pin or heavy pan to crush them into fine crumbs. Alternatively, pulse in a food processor for a quicker result.Forming the Base
In a medium bowl, combine Oreo crumbs and melted butter. Stir until the mixture resembles wet sand. Press firmly into the bottom of a 9-inch springform pan, creating an even layer. Pop it in the freezer while you work on the filling.3. Whip Up the Cheesecake Filling
This is where the magic happens: turn plain ingredients into a luscious, airy filling.Cream Cheese Mixture
In a large bowl, beat the softened cream cheese, sugar, and vanilla extract with an electric mixer until smooth and lump-free—about 2–3 minutes on medium speed.Folding in the Whipped Cream
In a separate chilled bowl, whip the heavy cream until stiff peaks form. Gently fold the whipped cream into the cream cheese mixture using a spatula. This lightens the texture and ensures a melt-in-your-mouth consistency.Adding Oreo Chunks
Reserve a handful of crushed cookies, then fold the remaining pieces into the filling. Be careful not to overmix—you want visible chunks throughout.4. Assemble and Chill
Now it’s time to bring crust and filling together for that signature cheesecake look.Layering
Pour the cheesecake filling over the chilled crust. Use an offset spatula to smooth the top evenly. Sprinkle reserved Oreo crumbs on top for extra crunch.Chilling Time
Cover the pan with plastic wrap and refrigerate for at least 4–6 hours, or overnight for best results. The longer chill ensures a firm, sliceable dessert.5. Serve and Enjoy
You’ve done the hard work; now reap the rewards of your no-bake wonder.Toppings and Presentation
Run a hot knife around the pan’s edge before unlocking the springform. Slice into neat wedges and garnish with whipped cream, extra Oreo halves, or a drizzle of chocolate sauce for a professional touch.Sharing Tips
Serve chilled with a cup of coffee or a glass of milk. This dessert is perfect for parties, potlucks, or a cozy night in. If you’re looking for more inspiration, check out Layered Heaven: The BEST Chocolate Lasagna Recipe Ever. And there you have it—an easy, no-bake Oreo cheesecake that’s as fun to make as it is delicious to eat. With just five simple steps, you’ll impress friends and family without ever turning on the oven. So grab those cookies, get mixing, and enjoy your slice of no-bake bliss!Read Interesting article: 6 No-Bake Desserts for Any Last-Minute Situation