
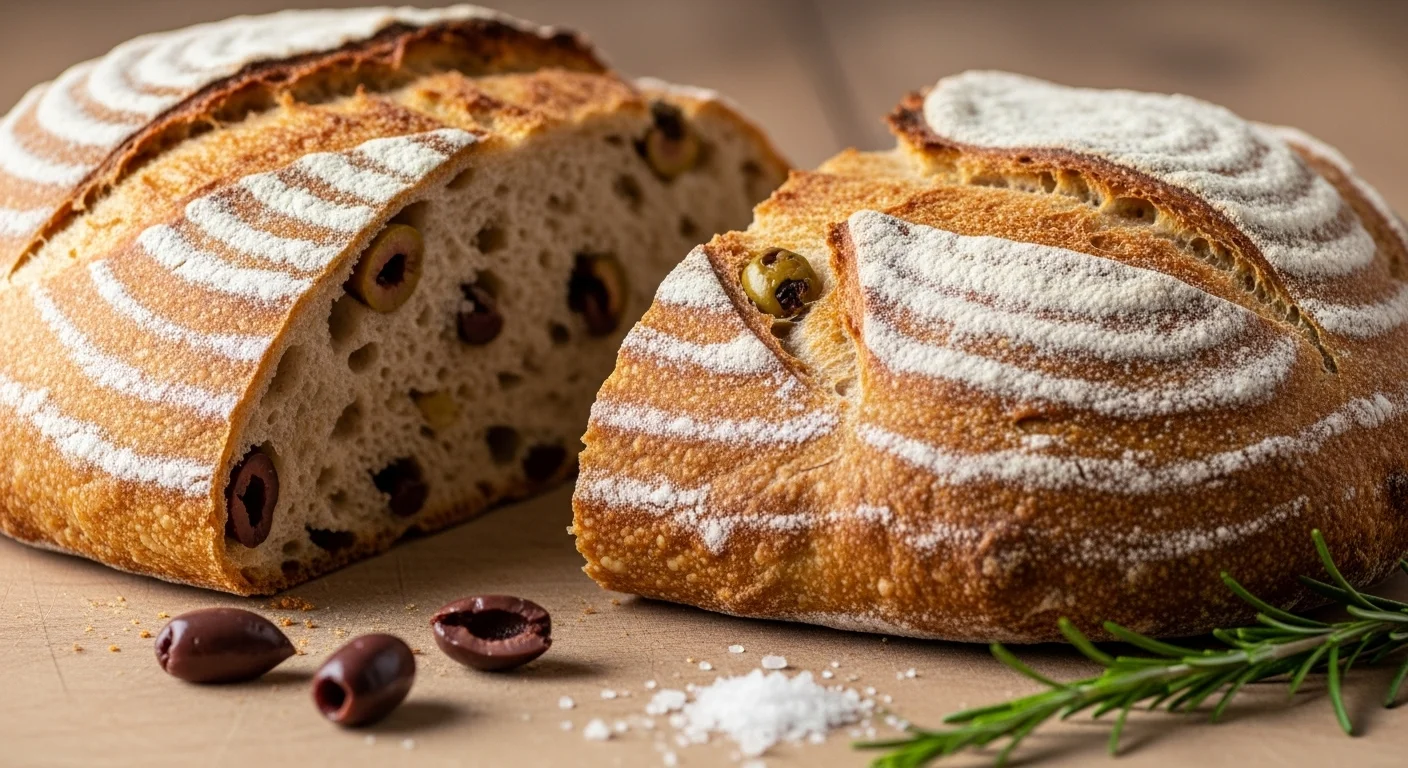
There’s something magical about the aroma of freshly baked bread wafting through the kitchen. When that bread is a flavorful olive sourdough, it’s a whole new level of deliciousness. Let’s dive into the world of sourdough and discover how to create this rustic, crusty loaf. Read Interesting article: How To Make Sourdough Pita Bread (Puffy & Soft)
Understanding Sourdough Bread
What is Sourdough Bread?
Sourdough bread is a type of bread made through a fermentation process that uses naturally occurring yeast and lactic acid bacteria. Unlike bread made with commercial yeast, sourdough has a unique tangy flavor and chewy texture, thanks to the wild yeasts that develop in the dough. I remember the first time I tasted sourdough; it was a revelation. The crust was crunchy, while the inside was soft and full of flavor. It made me want to learn how to make it myself.
History of Sourdough
The history of sourdough bread stretches back thousands of years. It’s believed to have originated in ancient Egypt around 1500 BC. People back then didn’t have the convenience of instant yeast, so they relied on natural fermentation. I find it fascinating that the same techniques used thousands of years ago are still relevant today. The art of sourdough baking connects us to our ancestors in a way that few other culinary practices can.
Benefits of Sourdough Bread
Sourdough bread comes with a variety of benefits that make it a great choice for health-conscious eaters. For starters, the fermentation process breaks down gluten, making it easier to digest. I’ve noticed that since I started baking and eating sourdough, I feel less bloated compared to when I eat regular bread. Plus, sourdough has a lower glycemic index, meaning it doesn’t spike your blood sugar levels as much. It’s also packed with probiotics, contributing to a healthy gut. Who knew that something so delicious could also be good for you?
Key Ingredients for Olive Sourdough Bread
Flour Types: Bread Flour vs. All-Purpose Flour
When it comes to baking sourdough, the type of flour you use can significantly affect the final product. I’ve experimented with both bread flour and all-purpose flour, and I’ve found that bread flour gives a better rise and a chewier texture. Bread flour has a higher protein content, which is essential for developing gluten. However, if you only have all-purpose flour on hand, don’t worry! It can work well too; just know that your bread might be a tad less chewy.
Water: Importance of Hydration
Water is another crucial ingredient that can’t be overlooked. The amount of water affects the dough’s hydration level, influencing the crumb and crust. I learned the hard way that too little water can make a dense loaf, while too much can lead to a sticky mess. It’s all about finding the perfect balance. Generally, a hydration level of around 70% works wonders for olive sourdough. This means if you’re using 500 grams of flour, you’ll want about 350 grams of water.
Salt: Enhancing Flavor and Structure
Salt is essential in sourdough, but it’s not just for flavor. I discovered that salt strengthens the gluten structure and controls fermentation. It’s a balancing act, though; too much salt can kill the yeast, while too little can make your bread bland. A good rule of thumb is to use about 2% of the flour weight in salt. For a 500-gram batch of flour, that would be roughly 10 grams of salt.
Olives: Choosing the Right Variety
Now, let’s talk about the star of our olive sourdough: the olives. The type of olives you choose can dramatically change the flavor profile of your bread. I love using Kalamata olives for their rich, bold flavor, but green olives can provide a nice briny kick as well. When selecting olives, I recommend using pitted ones to save yourself the hassle, and if you can, go for high-quality olives packed in brine rather than oil. This helps maintain that lovely moisture in the dough.
Starter: What is a Sourdough Starter?
A sourdough starter is a mixture of flour and water that captures wild yeast and bacteria from the environment. I’ve been nurturing my starter for quite a while, and it’s almost like a pet! You need to feed it regularly to keep it active. Having a healthy, bubbly starter is key to achieving that perfect rise and flavor in your olive sourdough bread. If you’re new to sourdough, don’t worry! I’ll guide you through the process of creating and maintaining one later on.
Equipment Needed for Baking Sourdough
Essential Baking Tools
When I first started my sourdough journey, I quickly learned that having the right tools can make all the difference in the process. Here’s a list of essential equipment that I’ve found helpful:
- Mixing Bowl: A large, sturdy mixing bowl is essential for combining your ingredients. I prefer glass or ceramic because they are easy to clean and don’t retain odors.
- Dough Scraper: This handy tool helps in managing sticky dough and makes transferring your dough to another surface a breeze. I can’t imagine my baking sessions without it!
- Kitchen Scale: Weighing your ingredients is crucial for consistent results. I invested in a good digital kitchen scale, and it has improved my baking tremendously.
- Proofing Basket: Also known as a banneton, this basket helps shape and support the dough during its second rise. I love how it gives my loaves that beautiful round shape.
- Sharp Blade or Scoring Tool: Scoring the dough before baking allows for controlled expansion and creates that lovely pattern on the crust. A razor blade or a dedicated scoring tool works best for this.
Choosing the Right Baking Surface
The surface you bake on can influence how your bread turns out. I’ve tried a few different options, and here’s what I’ve learned:
- Baking Stone: A baking stone is great for achieving that perfect crust because it retains heat efficiently. I love preheating my stone in the oven to really get that crust nice and crispy.
- Baking Sheet: If you don’t have a baking stone, a heavy-duty baking sheet can work just fine. I usually line mine with parchment paper for easy cleanup.
- Cast Iron Skillet: This is another option that can help create a great crust, especially if you preheat it before adding the dough.
Using a Dutch Oven for Crusty Loaves
One of the game-changers in my sourdough baking experience has been using a Dutch oven. Here’s why I think it’s worth having one in your kitchen:
- Steam Creation: The closed environment of a Dutch oven traps steam released from the dough, which is crucial for a crusty exterior. I’ve noticed that my loaves come out with a beautiful golden crust when I bake them this way.
- Even Heat Distribution: Dutch ovens are designed to conduct heat evenly, helping to bake the bread thoroughly. I love how my bread rises beautifully, thanks to the consistent heat.
- Versatility: Beyond sourdough, I use my Dutch oven for stews, soups, and even roasts. It’s a fantastic investment that truly enhances my cooking.
How to Make Olive Sourdough Bread
Step-by-Step Recipe Overview
Now that we have our ingredients and equipment sorted, let’s dive into making olive sourdough bread. The whole process can feel a bit intimidating at first, but I promise it’s worth it. Here’s a quick overview of the steps involved:
- Prepare your sourdough starter.
- Mix the flour, water, salt, and olives.
- Knead and fold the dough.
- Let it rise (bulk fermentation).
- Shape the dough and let it rise again (second rise).
- Bake it in the Dutch oven for a crusty finish.
Preparing the Sourdough Starter
Before you begin, make sure your sourdough starter is active and bubbly. I like to feed mine the night before I plan to bake. This way, it’s full of energy and ready to work its magic. If you’re unsure if your starter is ready, just drop a small spoonful in a glass of water; if it floats, you’re good to go!
Mixing Ingredients: Techniques for Best Results
In a large mixing bowl, combine the flour and salt first. Then, add the water gradually while mixing with your hand or a dough whisk. I find that mixing by hand allows me to feel the dough’s texture and adjust the hydration if necessary. After the flour is mostly incorporated, toss in the olives. I usually chop them coarsely, but feel free to adjust according to your preference.
Kneading and Folding the Dough
Once everything is combined, it’s time to knead. I typically use the “stretch and fold” method, which helps develop gluten without overworking the dough. For me, this technique is gentle yet effective—perfect for maintaining the air bubbles that give sourdough its light texture. I’ll stretch the dough, fold it over itself, and repeat this process every 30 minutes during the first rise.
First Rise: Bulk Fermentation Explained
Bulk fermentation is when the dough rises for the first time. It’s usually done at room temperature, and I find that a warm kitchen works best. Depending on the temperature, this can take anywhere from 4 to 8 hours. I like to watch for visual cues: the dough should double in size and have a bubbly surface. That’s my signal that it’s ready for the next step!
Shaping the Dough for Second Rise
After the first rise, I gently turn the dough onto a floured surface. Shaping is about creating surface tension to help the dough maintain its shape during the second rise. I form it into a round or oval shape, depending on my baking vessel, and place it in the proofing basket or a bowl lined with a floured cloth. I cover it and let it rise again, usually about 1 to 2 hours.
Baking Tips for a Perfect Crust
When it’s time to bake, preheat your oven and Dutch oven for at least 30 minutes. The high temperature is key to achieving that crusty exterior. I always score the top of my loaf with a sharp blade right before I place it in the oven. This allows the dough to expand beautifully. After baking, I let it cool on a wire rack. The waiting is tough, but it’s worth it for that first warm slice!
Flavor Variations and Additions
Herbs and Spices to Enhance Flavor
One of the beautiful things about baking olive sourdough bread is the opportunity to get creative with flavors. I’ve found that adding fresh herbs or spices can elevate the taste even more. For instance, rosemary and thyme blend wonderfully with olives, giving the bread an aromatic quality that’s hard to resist. I usually chop the herbs finely and mix them into the dough during the initial mixing stage. Another favorite of mine is adding crushed red pepper flakes for a bit of heat. It’s amazing how a small touch can transform the entire loaf!
Cheese Pairings for Olive Sourdough
Speaking of flavors, I can’t talk about olive sourdough without mentioning cheese. The richness of cheese complements the briny olives beautifully. I love to incorporate feta or goat cheese directly into the dough, which creates little pockets of creamy goodness throughout the bread. If you prefer a milder flavor, mozzarella works well too. Sometimes, I’ll even sprinkle some cheese on top during the last few minutes of baking for a delightful golden crust that adds another layer of texture. Trust me, your taste buds will thank you!
Other Add-ins: Nuts and Dried Fruits
If you’re feeling adventurous, consider throwing in some nuts or dried fruits. I’ve tried adding walnuts or pecans, which add a fantastic crunch and nutty flavor that pairs so nicely with the sourdough. Dried fruits, like sun-dried tomatoes or figs, can also contribute a subtle sweetness that balances the savory notes of the olives. When I experimented with this combination, it was a hit at my dinner table! It’s all about figuring out what flavors you love and mixing them into your dough. Read Interesting article: Quick Sourdough Discard Flatbread (No Yeast Needed)
Serving Suggestions
Best Pairings with Olive Sourdough
Once you’ve baked your olive sourdough, it’s time to enjoy it! I always recommend serving it warm, right out of the oven, with a drizzle of olive oil and a sprinkle of sea salt. This simple combination allows the flavors of the bread to shine. You could also serve it with a refreshing salad or alongside grilled vegetables. I’ve found that the crusty texture of the bread holds up beautifully against juicy and savory dishes, making it a great accompaniment.
Creating Delicious Sandwiches
Olive sourdough bread is perfect for sandwiches, too. I love using it for Mediterranean-inspired creations. A fresh caprese sandwich with tomatoes, basil, and mozzarella is a go-to for me. Sometimes, I’ll add a sprinkle of balsamic glaze to enhance the flavors even more. Another favorite is a simple turkey and avocado sandwich, which combines creaminess with the tanginess of the sourdough. The bread’s unique flavor profile makes every bite an experience!
Serving with Dips and Spreads
If you’re hosting a gathering or want a fun snack, serving olive sourdough with dips is a delightful option. Hummus is a classic pairing, and I enjoy making a batch with roasted garlic or sun-dried tomatoes for a twist. Tzatziki or a creamy spinach dip also works beautifully. I remember one night I served my olive sourdough with a warm artichoke dip, and everyone couldn’t get enough! It’s a fantastic way to showcase your homemade bread and impress your friends.
Storing and Preserving Olive Sourdough Bread
Best Practices for Storing Bread
After all that hard work, it’s important to know how to store your olive sourdough properly so it stays fresh. I’ve learned that the best way to store it is at room temperature in a paper bag. This allows the bread to breathe while preventing it from getting too hard. Avoid plastic bags, as they trap moisture and can make the crust soggy. If you have leftover bread, I recommend slicing it before storing for easy access later on.
Freezing Techniques for Long-Term Storage
If you want to keep your olive sourdough for a longer period, freezing is a great option. I usually slice my bread before freezing it, which makes it easier to grab a piece whenever I want. I wrap each slice in parchment paper and then place them in a freezer-safe bag. This way, I can pull out just what I need without having to defrost the whole loaf. When I’m ready to enjoy a slice, I pop it in the toaster or oven, and it’s like I just baked it fresh!
Common Mistakes to Avoid
Over or Under Fermenting the Dough
As I’ve gone through the sourdough baking process, I’ve made my fair share of mistakes. One of the most common issues is over or under fermenting the dough. If you over-ferment, your dough can become too sour and lose structure, while under-fermenting can result in a dense loaf. I’ve found that paying attention to the dough’s texture and visual cues helps a lot. Remember, patience is key when it comes to sourdough!
Incorrect Baking Temperatures
Another mistake I made early on was not preheating my oven or Dutch oven adequately. I learned that a hot oven is vital for achieving that perfect crust. I now make it a habit to preheat for at least 30 minutes before baking. It’s a simple step that makes a world of difference!
Not Using Enough Steam in the Oven
Lastly, I realized how important steam is during baking. If you don’t create enough steam, your bread may not rise properly and could end up with a tough crust. I’ve found that adding a tray of water in the bottom of the oven or using a Dutch oven works wonders. The steam helps create that beautiful crust we all love in sourdough. Remember, a few simple adjustments can lead to better results!
Frequently Asked Questions (FAQs)
How long does it take to make sourdough bread?
Making sourdough bread isn’t a quick process, but it’s so worth it! From start to finish, it typically takes about 24 hours, considering the time needed for the starter to activate, the bulk rise, and the final bake. But most of that time is hands-off. I usually prepare my starter the night before, mix the dough and let it rise during the day, and then bake in the evening. It feels like a rewarding journey!
Can I use store-bought olives?
Absolutely! While I love using high-quality olives, store-bought ones can work just as well. Just make sure they’re pitted and packed in brine for the best flavor. I’ve used various types of olives, and they all contribute unique tastes to the bread. Feel free to experiment!
What if my sourdough isn’t rising?
If your sourdough isn’t rising, don’t panic! It could be a few things: your starter might not be active enough, or the dough might be too cold. I recommend checking the temperature of your kitchen; a warm spot can help. If your starter isn’t bubbly, give it a feeding and wait a bit longer before trying again. It’s all part of the learning experience!
Frequently Asked Questions
What is sourdough bread?
Sourdough bread is a type of bread made through a fermentation process that uses naturally occurring yeast and lactic acid bacteria, giving it a unique tangy flavor and chewy texture.
What are the benefits of eating sourdough bread?
Sourdough bread is easier to digest due to the fermentation process that breaks down gluten, has a lower glycemic index, and is packed with probiotics, contributing to a healthy gut.
What type of flour is best for baking sourdough?
Bread flour is recommended for baking sourdough as it provides a better rise and chewier texture due to its higher protein content. All-purpose flour can also be used, but the bread might be less chewy.
How much water should I use for olive sourdough?
A hydration level of around 70% is ideal for olive sourdough. For instance, if you’re using 500 grams of flour, you should aim for about 350 grams of water.
What role does salt play in sourdough bread?
Salt enhances flavor, strengthens the gluten structure, and controls fermentation. A good rule of thumb is to use about 2% of the flour weight in salt.
What is a sourdough starter?
A sourdough starter is a mixture of flour and water that captures wild yeast and bacteria from the environment, which is necessary for fermenting the dough and achieving the desired rise and flavor in sourdough bread.
What is the best way to store leftover olive sourdough bread?
The best way to store olive sourdough is at room temperature in a paper bag to prevent it from getting too hard while allowing it to breathe. Avoid plastic bags as they can make the crust soggy.
Can I freeze olive sourdough bread?
Yes, you can freeze olive sourdough bread. It’s recommended to slice the bread before freezing and wrap each slice in parchment paper, then place them in a freezer-safe bag for easy access later on.
What are common mistakes to avoid when baking sourdough?
Common mistakes include over or under fermenting the dough, not preheating the oven or Dutch oven adequately, and not creating enough steam during baking, which can affect the bread’s rise and crust.
How long does it take to make sourdough bread?
Making sourdough bread typically takes about 24 hours from start to finish, considering the time needed for the starter to activate, the bulk rise, and the final bake. Read Interesting article: How To Make Beautiful Sourdough Focaccia Art (It’s Easy!)